Setting up and using Inventory
How inventory works
Tebi’s inventory allows precision tracking of product sales and stock purchases to make sure you never oversell and to keep your margins perfectly accurate. It uses a First-In-First-Out system to accurately account for the cost of individual products as they are sold, purchased or written off.
Enable inventory for a product
- Open Products and find the product you want to turn inventory tracking on then tap the …
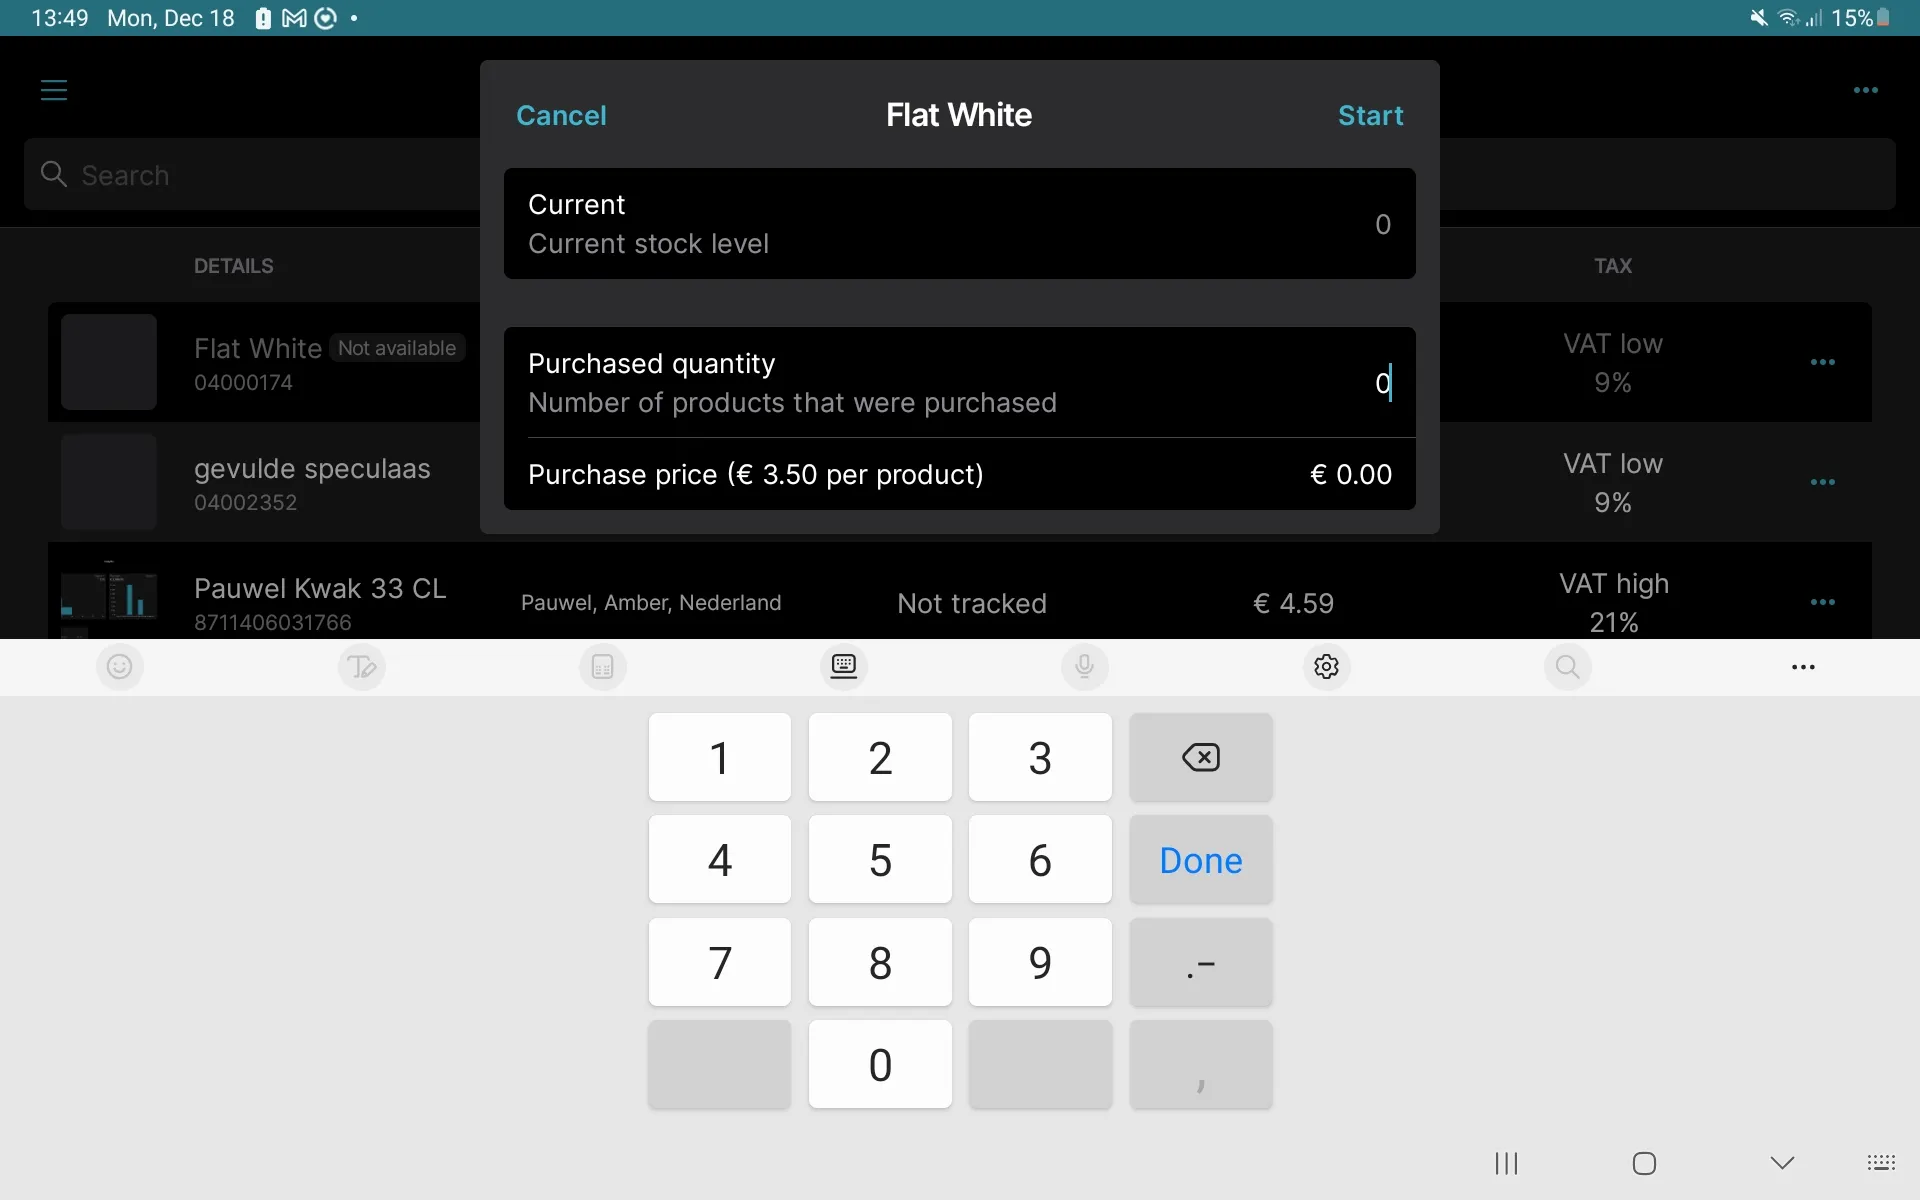
- Choose Start tracking inventory
- Enter the quantity you currently have on hand in the Purchased quantity field
- Purchase price will be filled automatically if you previously entered it for the product. Otherwise, enter the total purchase price (excl. tax) to get accurate margin reports.
- You can also enable and adjust inventory settings by:
- long-pressing a product tile in the Sale screen and pressing Edit product. Go to Track inventory and select Enable and the inventory settings will appear.
- Clicking on a product in Products. Go to Track inventory and select Enable and the inventory settings will appear.
- If you want to stop selling after the stock count in Tebi reaches 0, the toggle off Continue selling when out of stock
- Show inventory level in sales screen will display the amount of stock in product tiles and product lines within the Sale Screen
Inventory in the sale screen
-
3 tiles from left to right:
- A product with ‘Continue selling when out of stock’ enabled
- An out of stock product where ‘Continue selling when out of stock’ is disabled
- An in stock, inventoried product

-
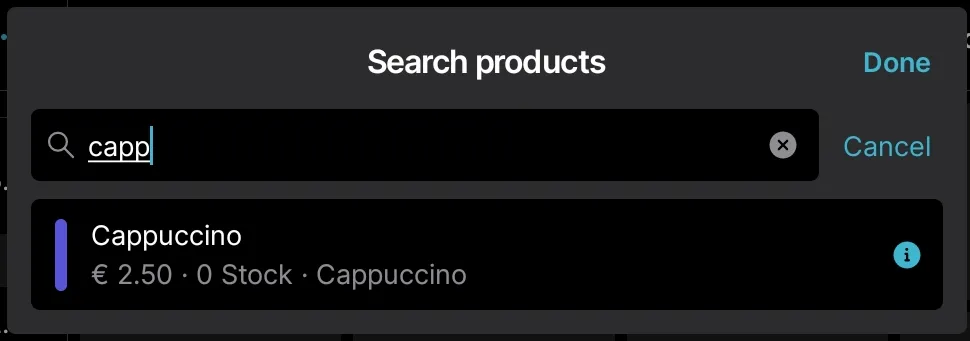
Showing stock in search or product groups
Adjusting inventory
Use this when you receive a resupply of new stock or lose items to breakage. As noted above, inventory adjustments are effectively purchase or sales invoices which affect margins.
- Go to Products
- Find the product you want to adjust and tap the …
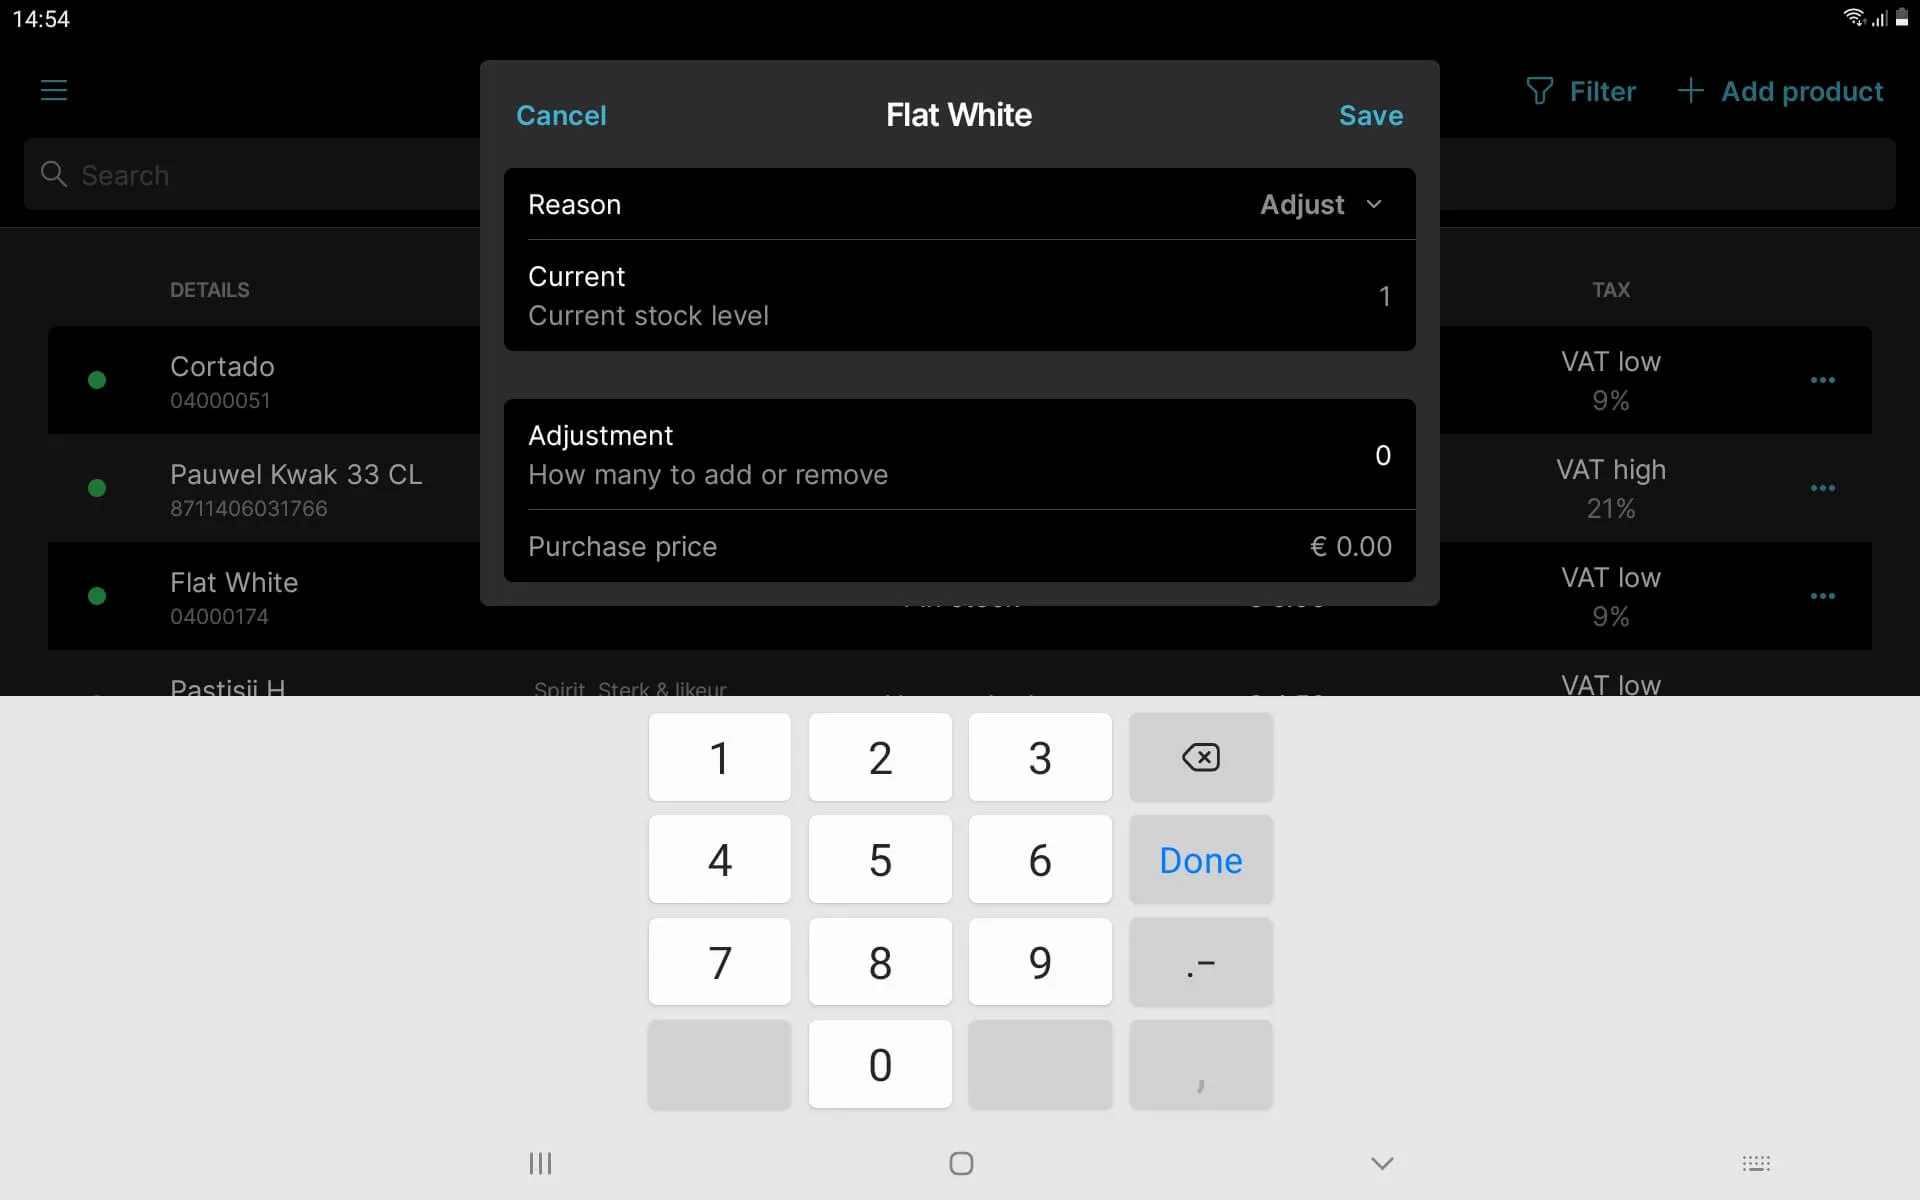
- Tap Add purchased inventory or Remove inventory
- Enter the amount to be added or removed
- Purchase price will be automatically added based on the product’s purchase price
- Press Save
Counting inventory
This is helpful when doing a stock count or to return stock to a set, known amount. Note: Any differences between the existing and previous inventory level will be managed through a zero-value adjustment. This means if you have lower stock the sale price will be 0, and if you have higher stock the purchase price will be 0. Both will affect your product margins.
To adjust inventory after a stock count:
- Go to Products
- Find the product you want to adjust and tap the …
- Tap Count inventory
- Enter the new count
- Tap Save
Marking products as out of stock
This will remove all remaining inventory by writing the products off with a sale price of 0.
- Go to Products
- Find the product you want to adjust and tap the …
- Tap Product is out of stock
- Cancel, or Remove the stock
Adding inventory purchases in bulk
Add inventory items to your stock, including varying purchase prices and different purchase dates.
To add inventory purchases in bulk:
- Fill in all fields in the supplied upload file template
- Go to Back Office > Tools > Product List
- Tap Inventory purchases
- Select the file to upload and click Open
Adjusting in bulk for inventory counts
You can override current inventory levels in bulk after performing an inventory count. Uploading an inventory count adjusts the current inventory level by deducting or adding each piece of inventory with a purchase or sale price of 0.0. Note: as this is essentially ‘writing off’ products it will affect the calculation of margins when products have been adjusted.
To adjust inventory in bulk:
- Add the GTIN and inventory amount to the supplied upload file template
- Go to Back Office > Tools > Product List
- Tap Inventory count
- Select the file to upload and click Open
Disable inventory tracking
You can disable inventory tracking, which will automatically set your inventory level to 0 and turn off inventory features.
To disable inventory tracking:
- Go to Products
- Open the product you want to adjust
- Go to Track inventory and select Disable