Using Reservation Localisation
With Reservation Localisation you can show your reservation services, widget and confirmation emails in different languages. This helps international guests book more easily and keeps your communication consistent across languages.
How to set it up
1. Add translations to your services
- Go to Reservations → Availability in the Backoffice.
- Open a service or create a new one.
- At the top, select a language using the Language dropdown.
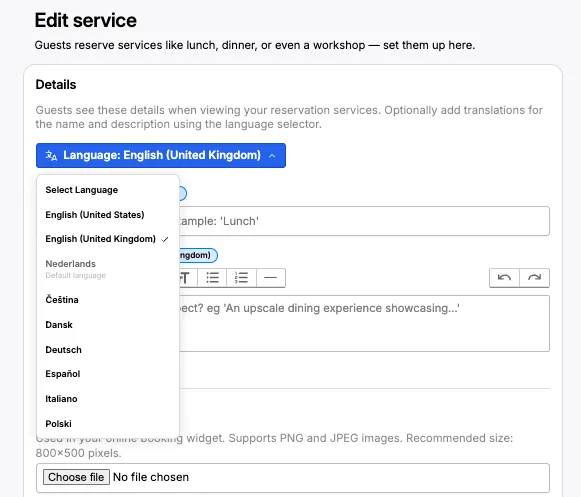
- Enter the translated Service name and Description for that language.
- Save the Service
2. Add translations to your widget appearance and confirmation email
-
Go to Reservations → appearance
-
Select a language from the Language dropdown.
-
Add translations for:
- The widget button label (“Reserve a table”)
- Additional information shown in confirmation emails when including a custom message
-
The message for large groups, when enabled
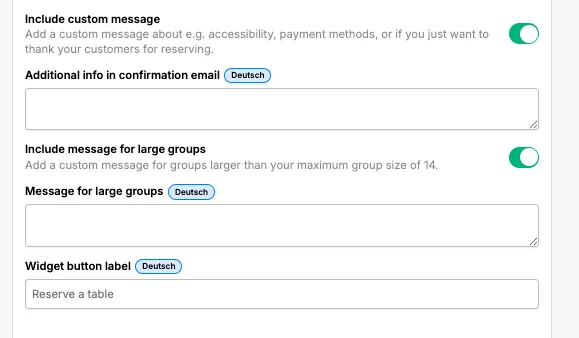
-
Save your changes.
How the widget chooses the language
The reservation widget follows the guest’s browser language. If it matches one of the supported languages (English US/UK, Dutch, Czech, Danish, German, Spanish, Italian, Polish) and you’ve added translations, the widget will automatically display your localised content.