Managing reservations in the App
Viewing reservations
- In the Tebi App, open the Menu (≡) and open Reservations.
- At the top, you can select the day you want to view. This is set to the current day by default.
- In the top right corner, select List, Timeline or Waitlist view .
- Tap the three dots in the top right corner to filter the reservations Overview or select or to enable Selection mode.
List view
- You will see a list of any reservations for that date including the reservation time, customer name, service, group size, table, the notes from the guests and whether the customer has been check in.
- Quickly find for a reservation by entering the customer name in the search bar.
- New reservations will show how long ago the reservation was created, up to 1 hour.
Timeline view
-
The timeline shows reservations in a chart by time and table.
-
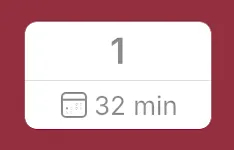
You can see the number of guests, customer name, whether the customer has been checked-in and whether there is a note.
-
This clock with an arrow indicates the reservation has been made recently

-
Click on the guest’s name to see the details of their reservation.
-
Add color to an individual reservation or service in the Tebi Back Office.
On the Floor Plan and Table Grid
- Open Upcoming Reservations in the bottom bar on the Advanced Floor Plan and the Table Grid to see reservations that start in the next 2 hours
- Reservations that are about to start will also appear in the Advanced Floor Plan as time indications on tables. See below.

Waitlist view
- The reservation time, group size and customer name will be shown on the waitlist.
- Click on the line to view the waitlist details.
- If a spot is available, manually invite guests by clicking Confirm reservation
- Long press to invite multiple guests in bulk
- Note: You can only invite waitlist guests if the reservation meets the available capacity
- Choose to turn on the setting Automatically invite guests from the waitlist (Reservations > Advanced): when a spot opens, any guest on the waitlist for that day will be emailed automatically to inform them that they have an option to make a reservation.
- This takes into account the group size of the available table(s) that have opened up (e.g. a table of 4 cancels, then a table of 2 could also book this spot).
- If a prepayment is required for the service, the customer will need to make this before confirming the reservation.
Creating new reservations
From the plus button
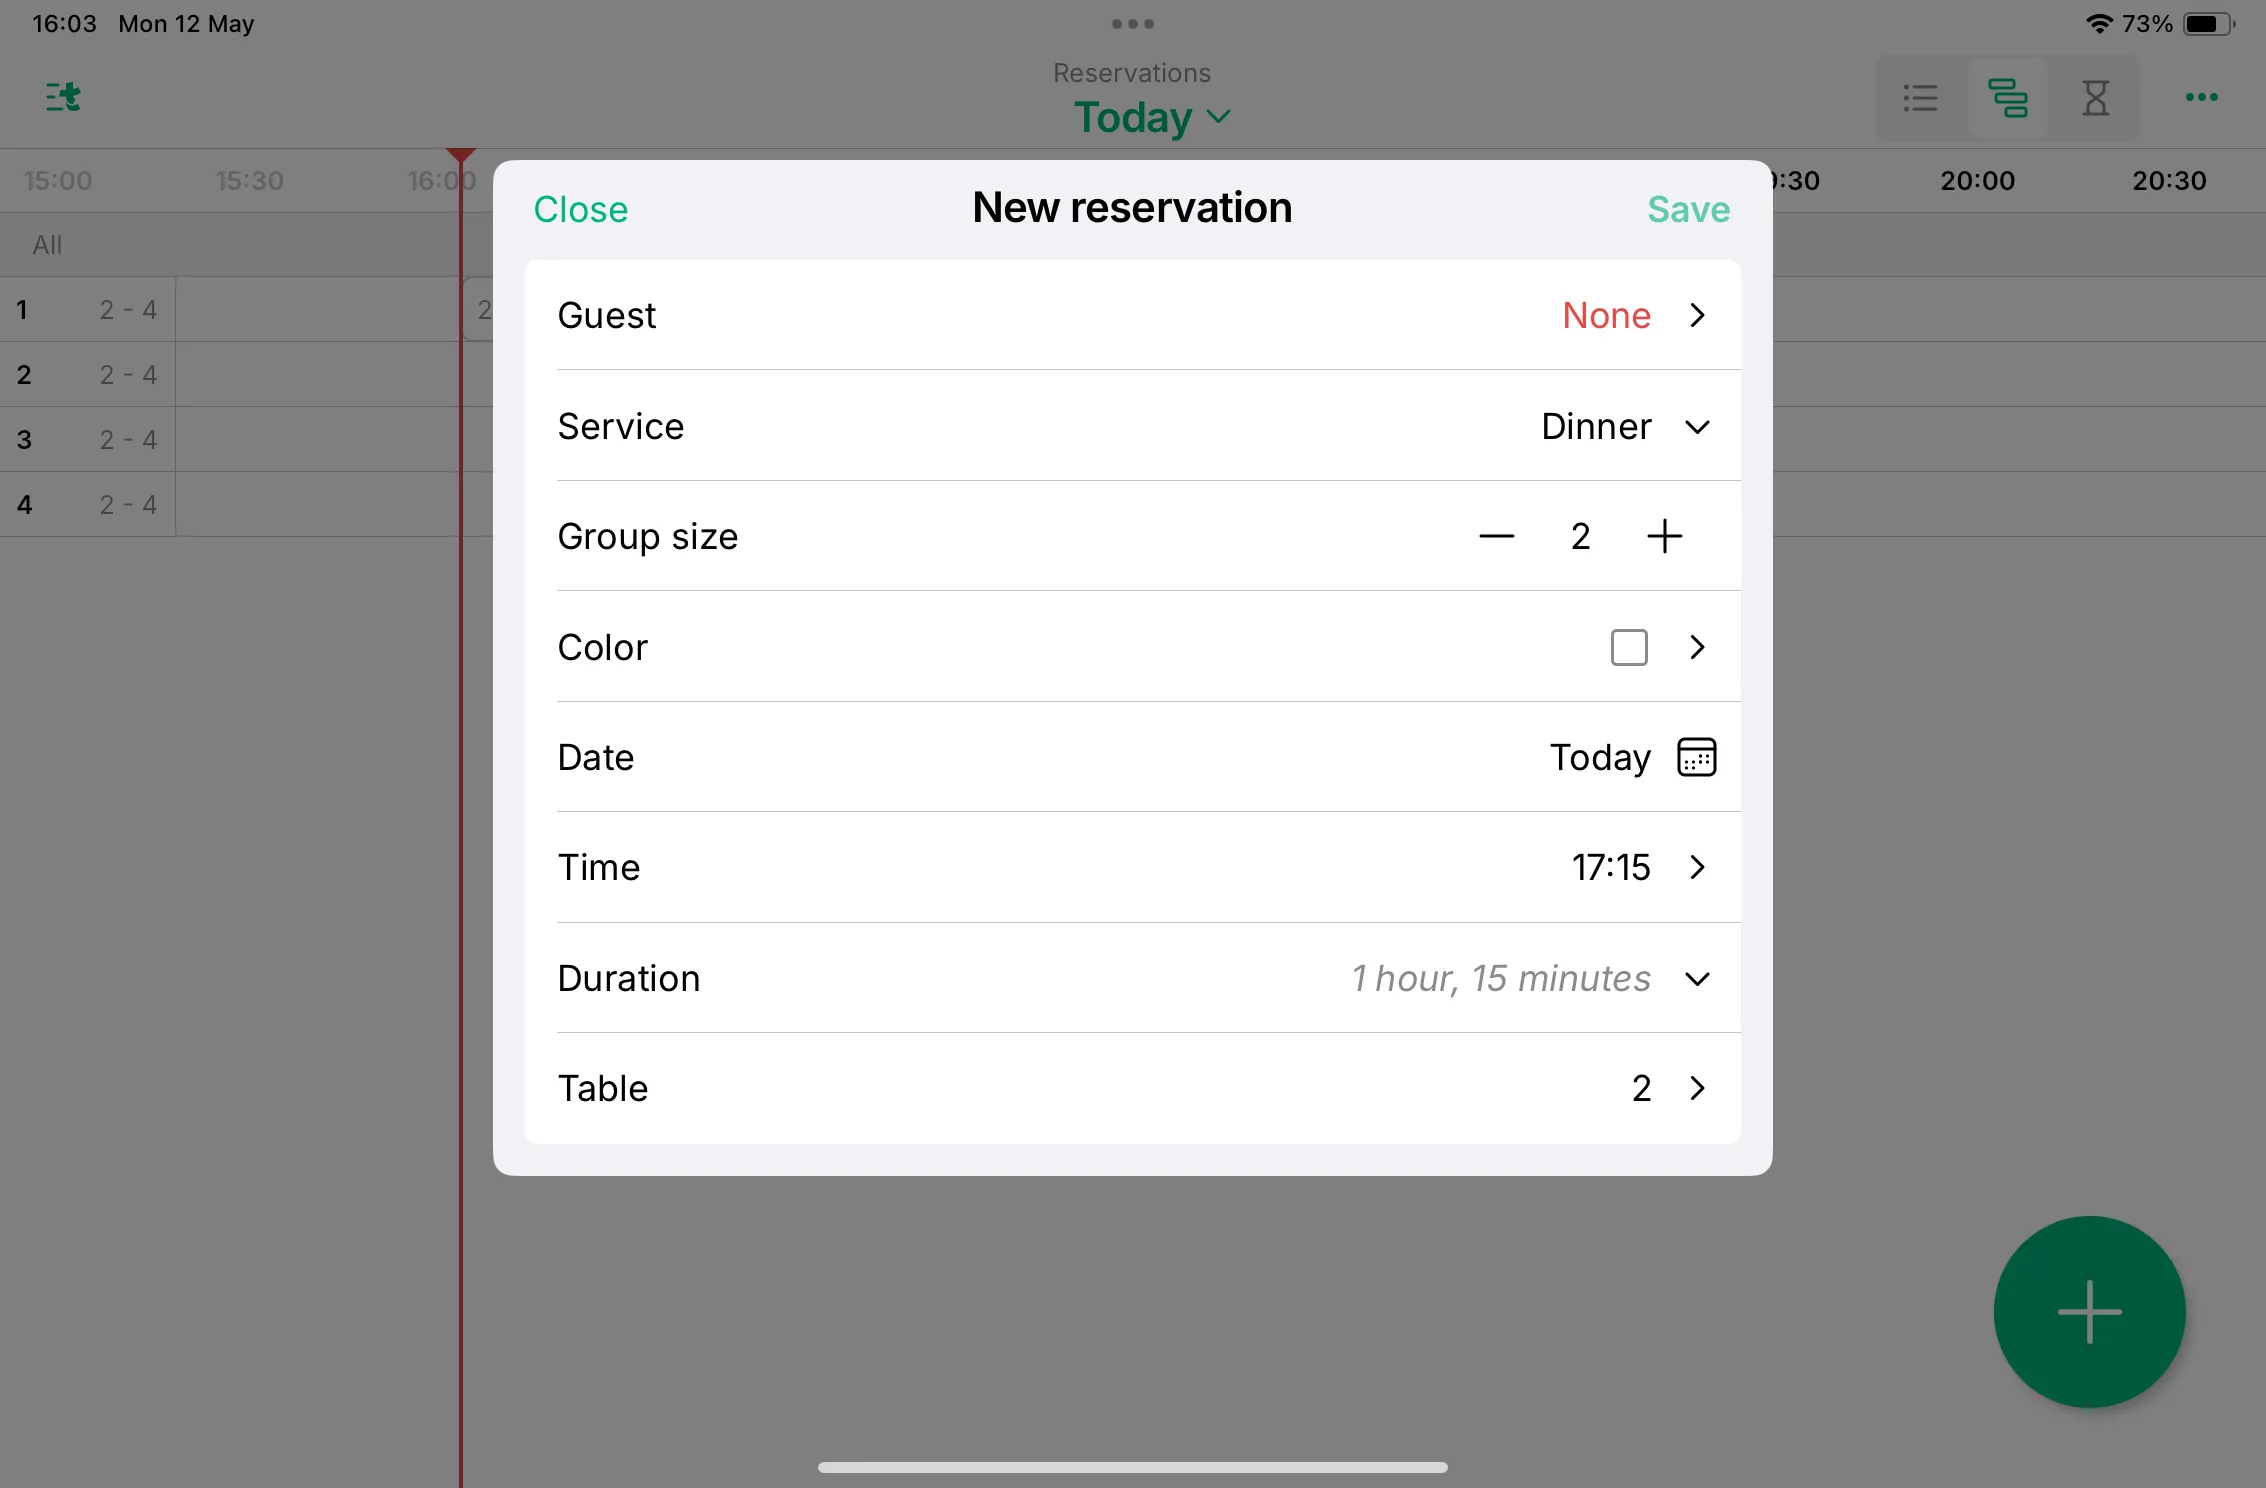
- Press the plus button (+) in Reservations
- Tebi uses a number of insights to help cut down the amount of information you need when adding reservations. For example:
- If you select service and group size, Tebi will estimate the table to place the guest at.
- If you select Time and Table, Tebi will estimate the service.
- When you are happy with the reservation contents, click Save to finalize the reservation.

From the timeline
- Tap the time and table to create a draft reservation
- Tap the draft again to start creating the reservation
- If you don’t want to proceed with the draft you can tap where to dismiss it
- Alternatively, use the plus button as described above
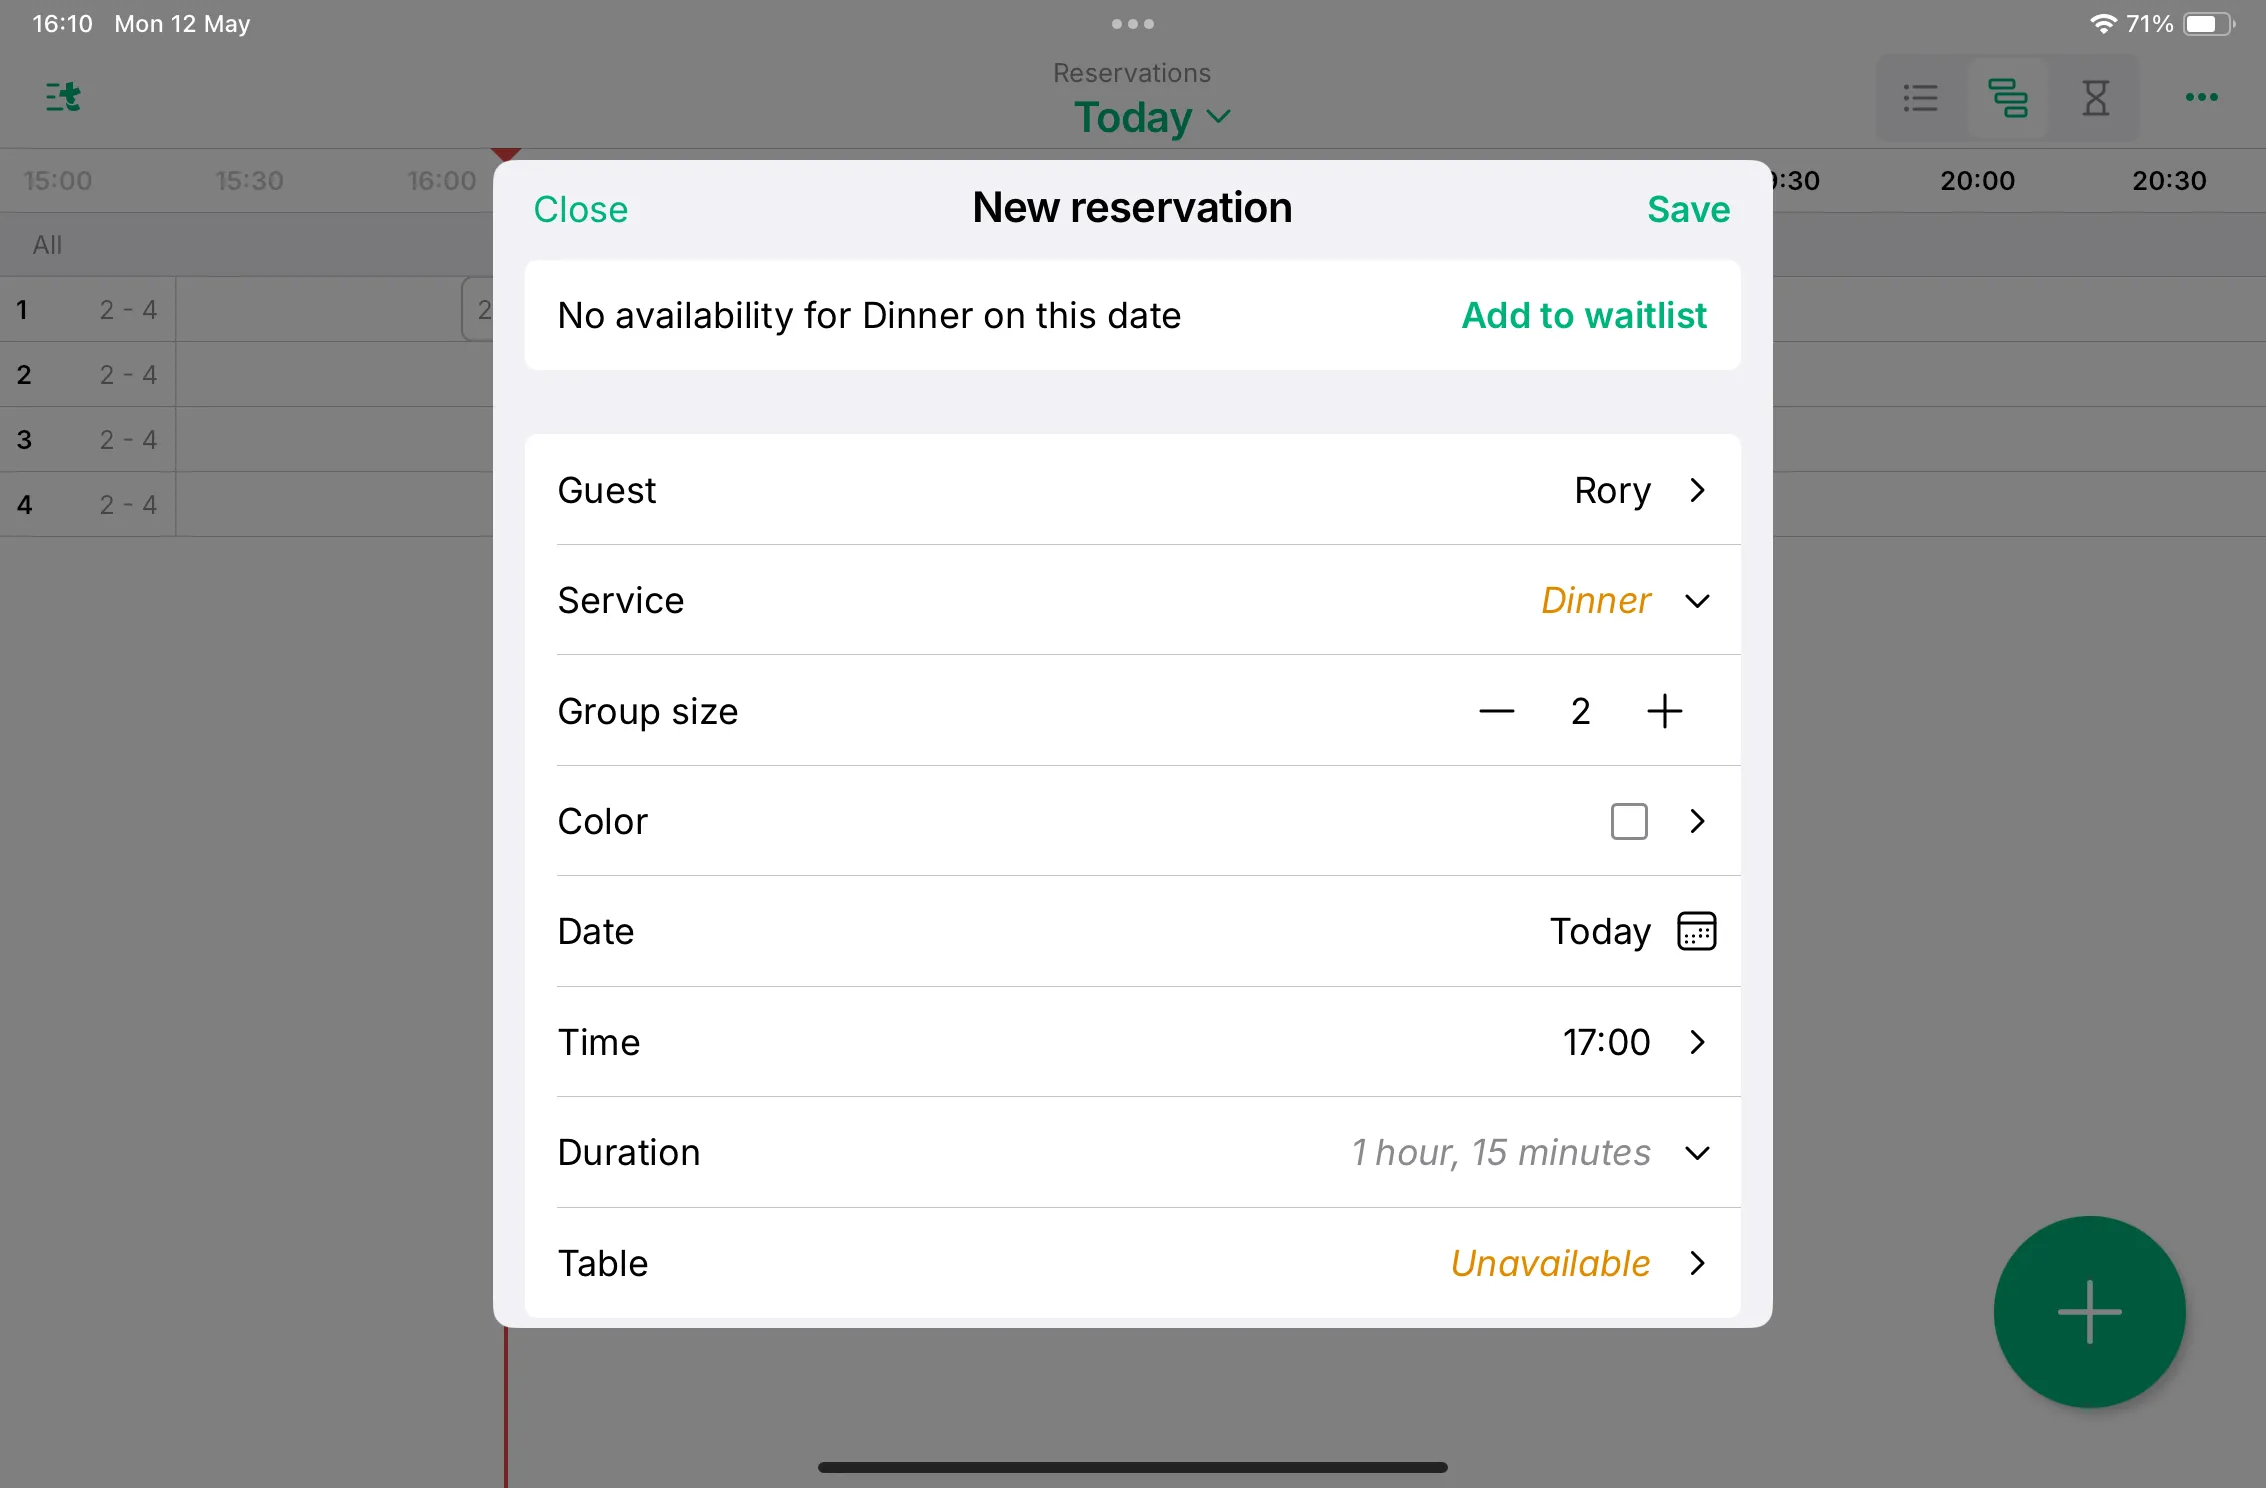
”No availability” pop up
“It seems like there’s no availability at this time. Would you like to continue anyway?” means that there are currently no available tables according to the availability and capacity settings in the Tebi Back Office.
This can be caused by:
- Capacity settings: Check if the minimum and maximum group sizes are correctly set for the tables. You can do this in the Back Office via Settings > Floor Plan.
- Availability schedules: Make sure the availability schedules are correctly configured in the Back Office under Reservations > Availability.
- Pacing and daily limits: Check if pacing or daily limits are set that might restrict availability in the Back Office under Reservations > Pacing.
You can still save the reservation, but it’s a good idea to review the settings to ensure everything is working as expected.
Please note: as an owner user you can always override the warning and save the reservation.
Creating walk-ins
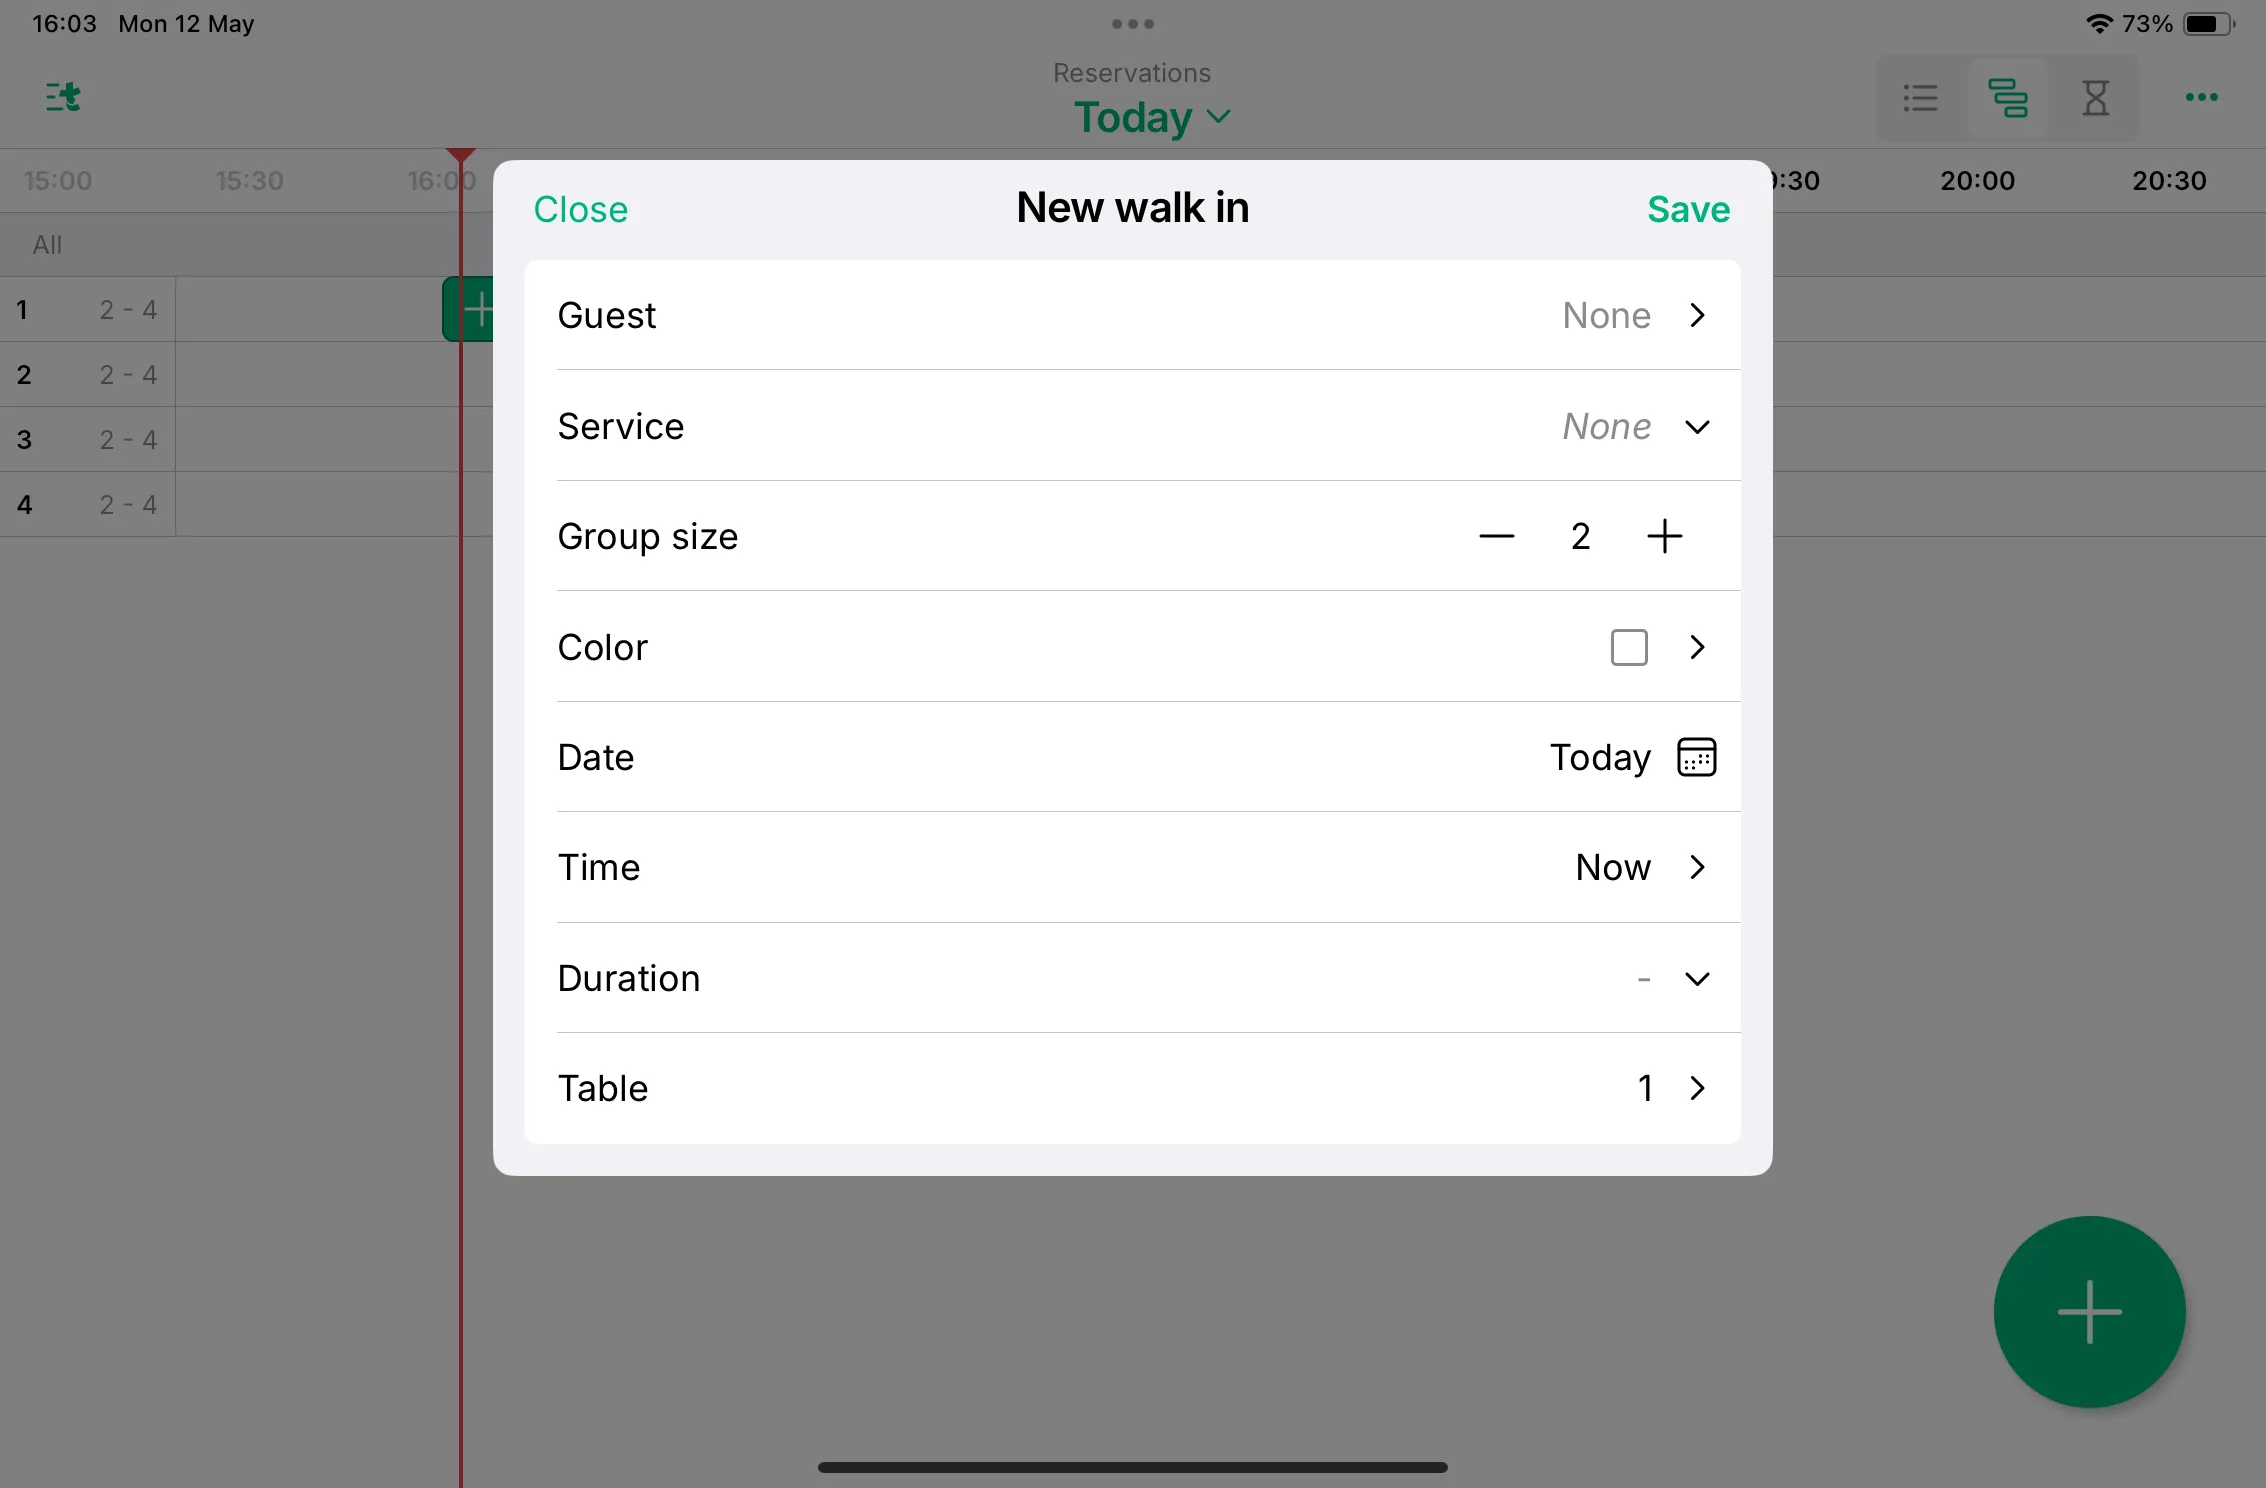
Tebi lets you easily create walk-ins from the timeline. If you add reservation with a start time of Now or within 15 minutes of the current time, Tebi will automatically add it as a walk-in.

Editing reservations
From the timeline
- Long press a reservation or use the three dots in the top right to enter edit mode
- In locked edit mode you can change reservation tables and end times
- Change tables by dragging and dropping the reservation
- Change end time by dragging the end of the reservation to the desired time
- In unlocked edit mode you can also change the start time of reservations
- When you press Save all the changes you made will be applied. If you have changed the start time of a reservation you will be informed that saving will email guests with updated reservation arrival times.
Managing conflicts
If you move a reservation to a table occupied by another reservation in the timeline, you will be given a number of options to handle the conflict.
- You can undo the move and return the moved reservation to its original table
- You can swap tables if the underlying reservation will fit where you moved the other reservation
- If another suitable table is available, you can choose to move the underlying reservation to that table
- If the moved reservation starts before the underlying reservation you can squeeze the moved reservation
- You can also choose to leave the conflict in place
- You will need to press Save before applying your changes
From the list
- Tap a reservation to see and edit any details as needed.
- Use the three dots in the top right or long press a reservation to enter selection mode. From here you can select and check in multiple reservations at the same time.
Adding guests to the waitlist
If there is no availability for a reservation, you will see the option to Add to waitlist. When you do this, the guest will be added to the waitlist direclty and can be invited later if a spot opens up.

Checking in reservations
- To check-in a reservation, select the reservation, and tap Check-in. When you do this, a sale will appear at the table the customer was assigned, if using table seating, including the amount of their prepayment (if used).
- Reservation tables and therefore reservations capacity are updated if you move a sale from one table to another.
Undo check-ins
To undo a reservation check-in:
- Go to the Tebi App > Reservations
- Click on the reservation and scroll down
- Click Undo check-in
Walk-ins and availability
Customer walk-ins will be accounted for when determining availability, as soon as you open an invoice in Sales. The sale created in the Tebi App will block the related table from being reserved.
Managing pacing and stopping new reservations
- Go to Reservations
- Tap the three dots in the top right and select Pacing limits
- Enable Stop taking reservations to close for new reservations for the rest of the day
- To change pacing limits
- Choose a single time slot or press select to apply across many times
- Tap Guest limit
- Enter the maximum number of guests you want for the time slot
- Press Save
Customer insights
Go to the Menu > Reservations, and you find the insights by clicking on a reservation and it shows:
- Last visit
- Number of times visited