Enable Yuki integration
Enable Yuki integration
After completing the steps described in this document, you won’t need to manually transfer accounting data to Yuki; Tebi will send the data for the accounts you select directly to the tool every evening (end of day), saving you time and reducing data errors.
The key to a successful integration is the mapping of Tebi accounts to Yuki accounts. If all accounts that have data in your Tebi back office have a corresponding account in Yuki, the synchronisation of data will be successful! If there is for example an account at Tebi that doesn’t have a corresponding account in Yuki, the synchronisation of data will fail for this day.
Enabling this bookkeeping add-on has an additional cost of €30/month. Please note that the billing will begin immediately after completing the steps in this guide — even if you don’t finish the setup today. You can consult our terms and conditions here and disable the add on and cancel this additional subscription cost anytime, in your integration settings.
*Please note that information sent to Yuki will be aggregated at the account level, this means that there won’t be a breakdown of information by profit center (e.g. restaurant vs. gift shop) or an aggregation at the group/brand level.
Step 1. Enable the Bookkeeping add on
-
Go to https://live.tebi.co/backoffice →
-
Go to ‘Settings’,
-
Go to the ‘Integrations’ tab
-
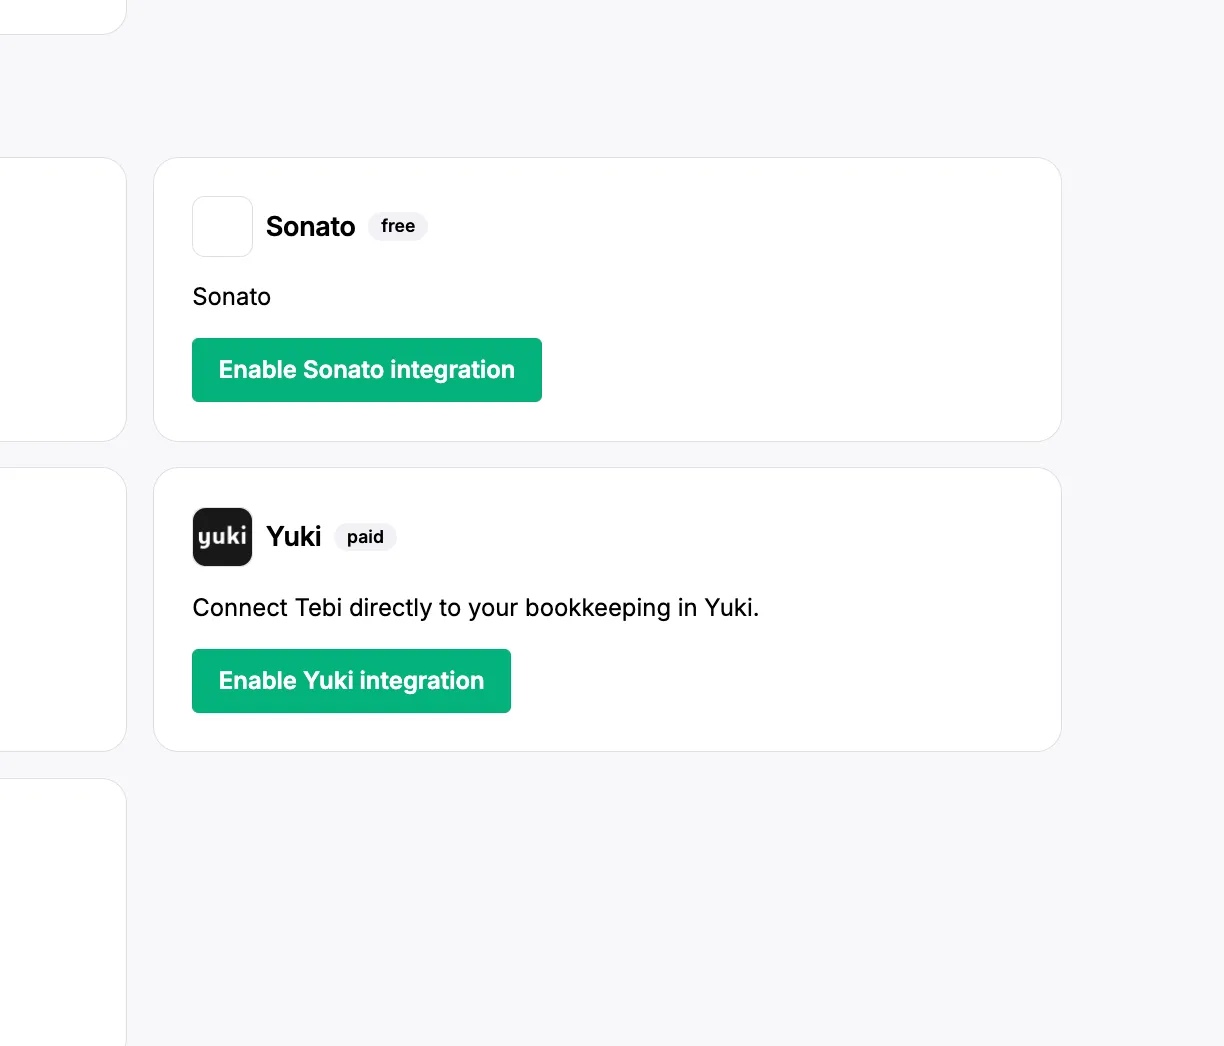
Navigate to the ‘Yuki’ box and click on ‘Enable Yuki integration’
-
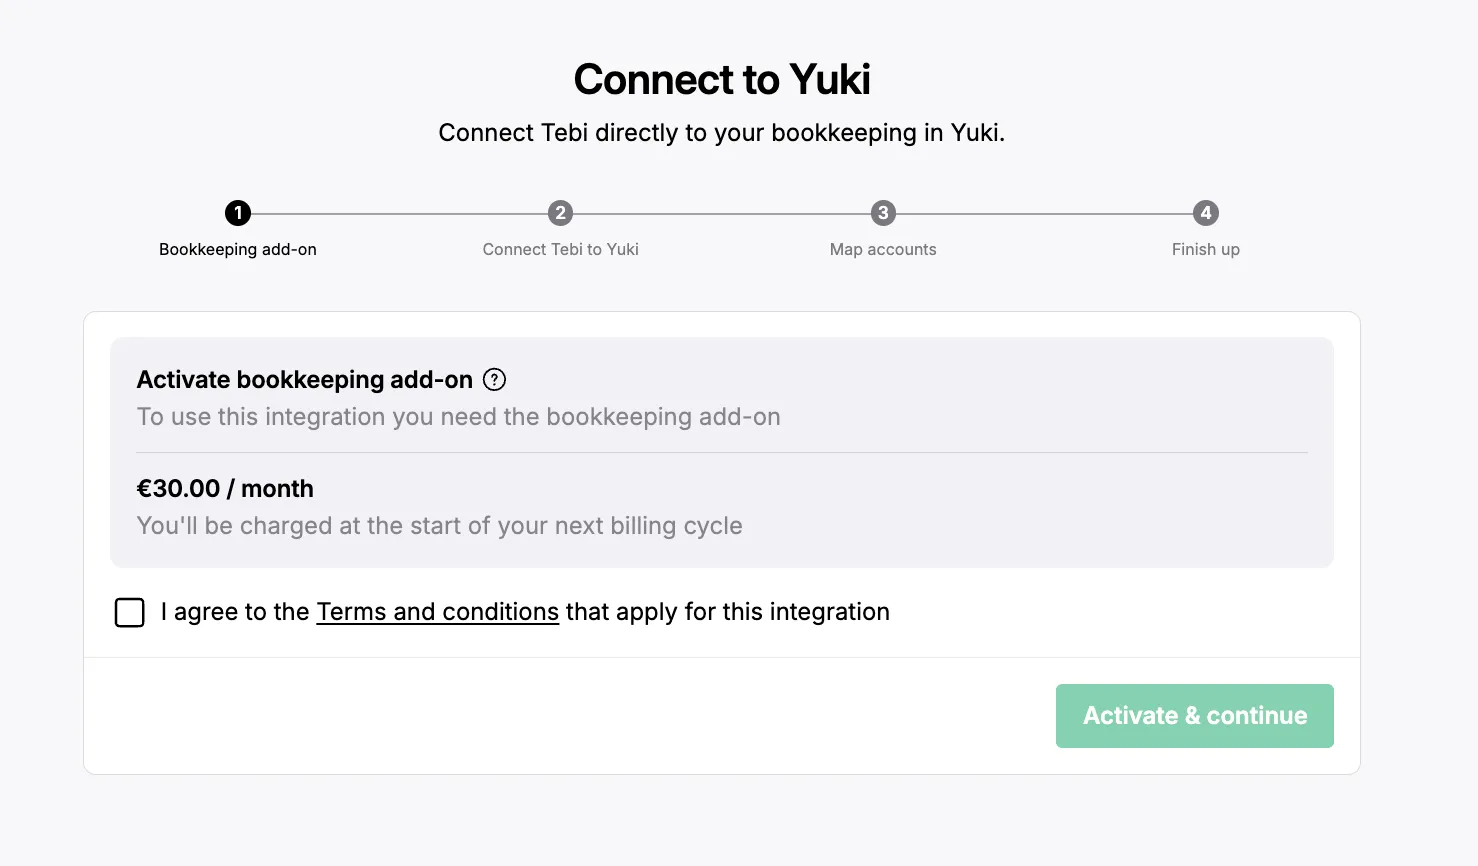
The first step in the connection process is reviewing the costs and terms of service for this integration. After doing so, you can click on ‘Activate & continue’
Step 2. Enable the connection between Tebi and Yuki
-
Once the Bookkeeping add is activated in the Tebi Back Office, you will be able to establish the connection with Yuki. After clicking on ‘Activate and continue’ you will be redirected to a page where you can define more details for this integration.
-
You will need to add the API key to establish the connection.
-
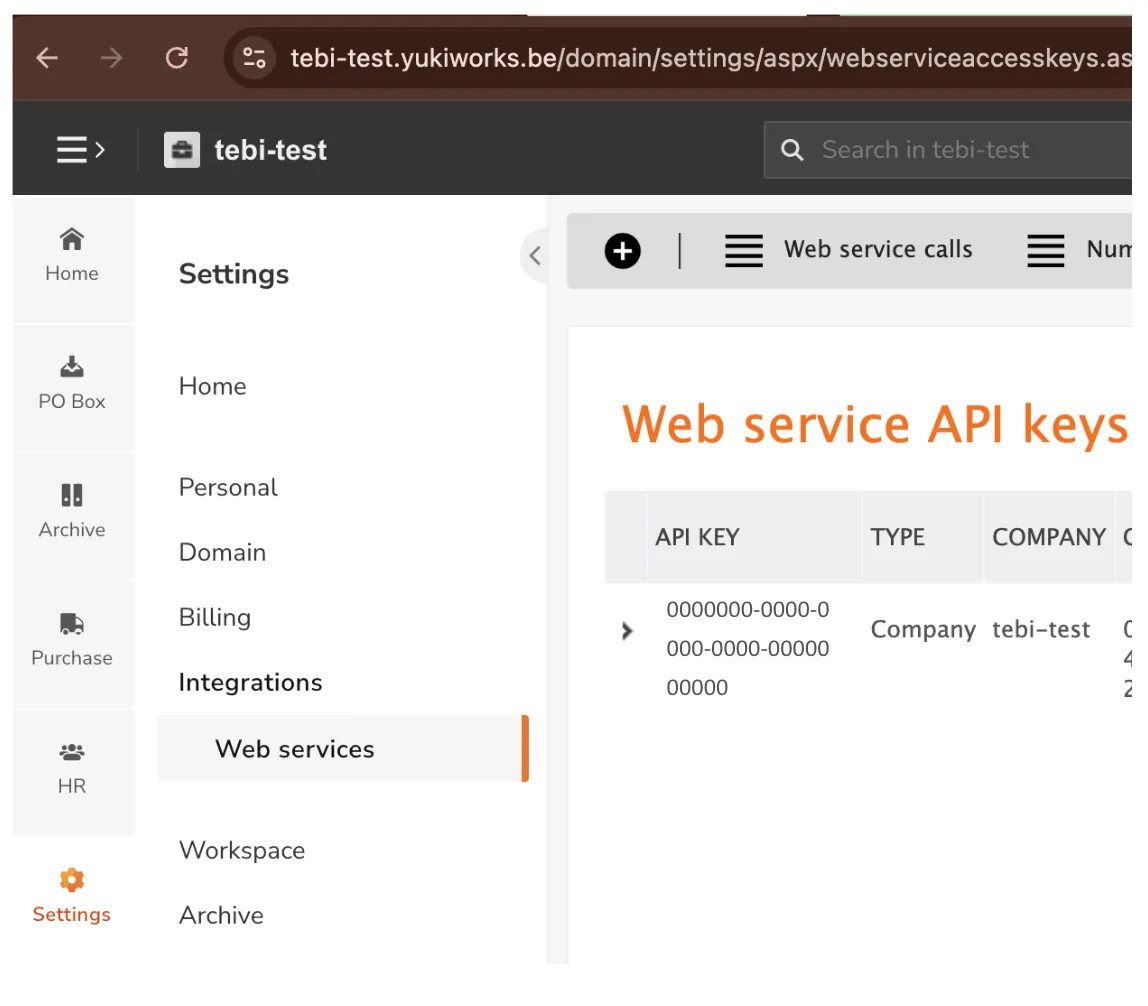
You can find your API key in the Yuki website,
-
go to Settings > Webservices
-
You API key will be in the first column in the table “API key”
-
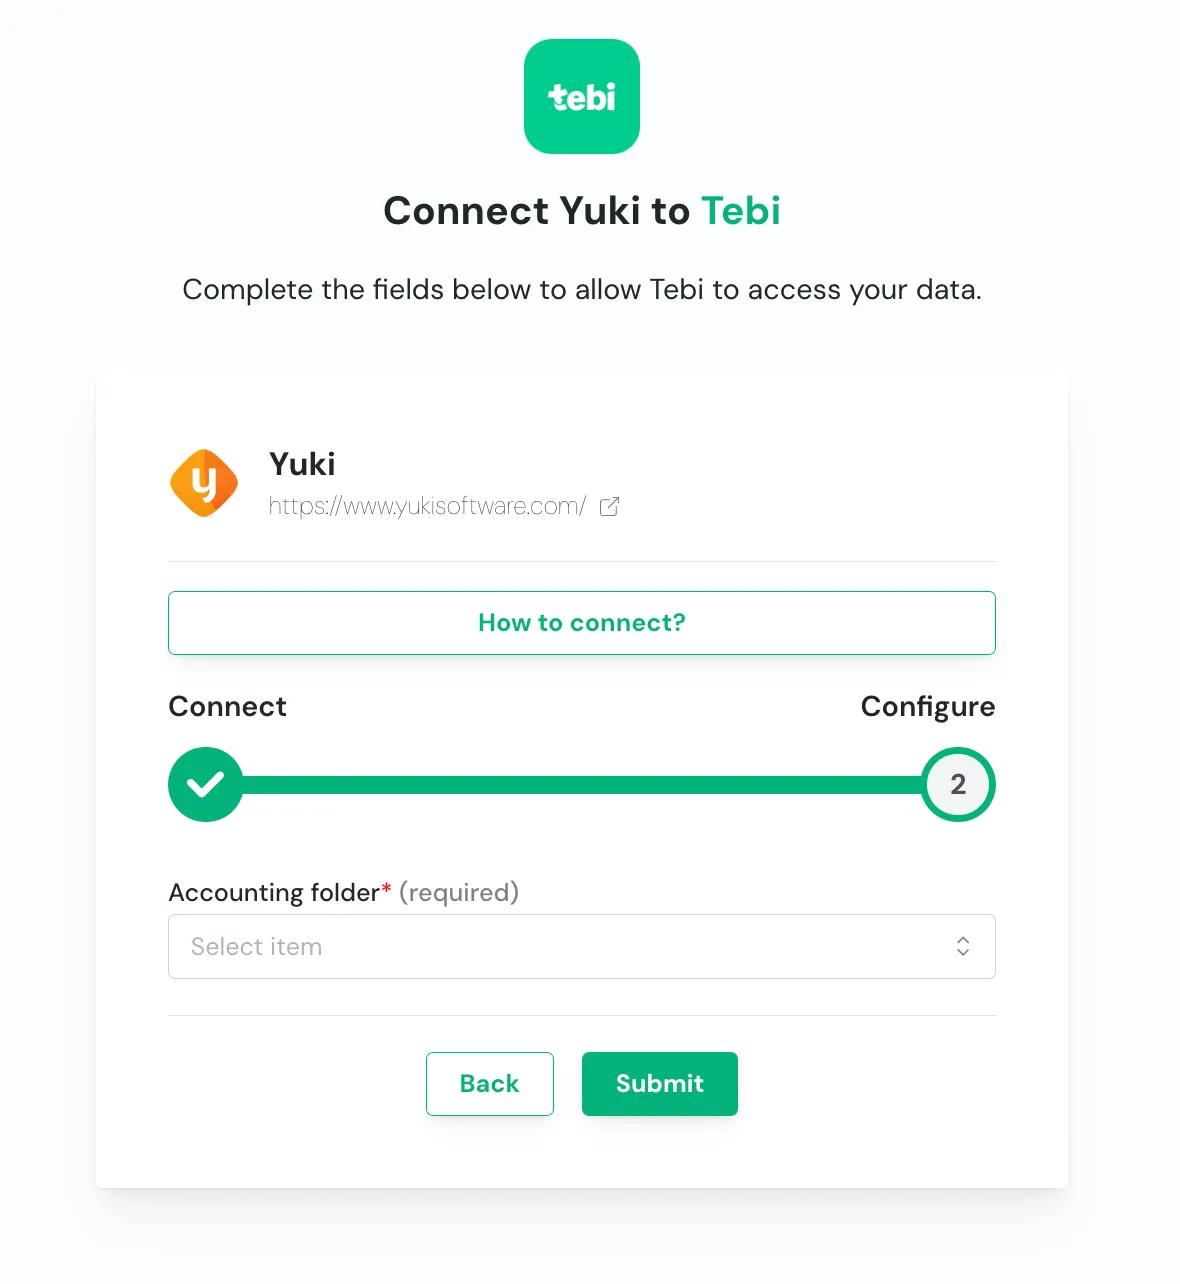
You can add the API key in the connection page and click on connect

-
You’ll then need to select the accounting folder you want to connect, from the drop down and click on submit.
-
As soon as the connection was successful, you will be redirected to Tebi, where you can continue to map your accounts.
Step 3. Account Mapping
Mapping accounts is the most important step of the process. If a Tebi account doesn’t have a mapped or corresponding Yuki account, the synchronisation of data will fail. In the case of failure, you will receive an email after the sync attempt (every night).
-
If you were not redirected automatically, you can go to https://live.tebi.co/backoffice →
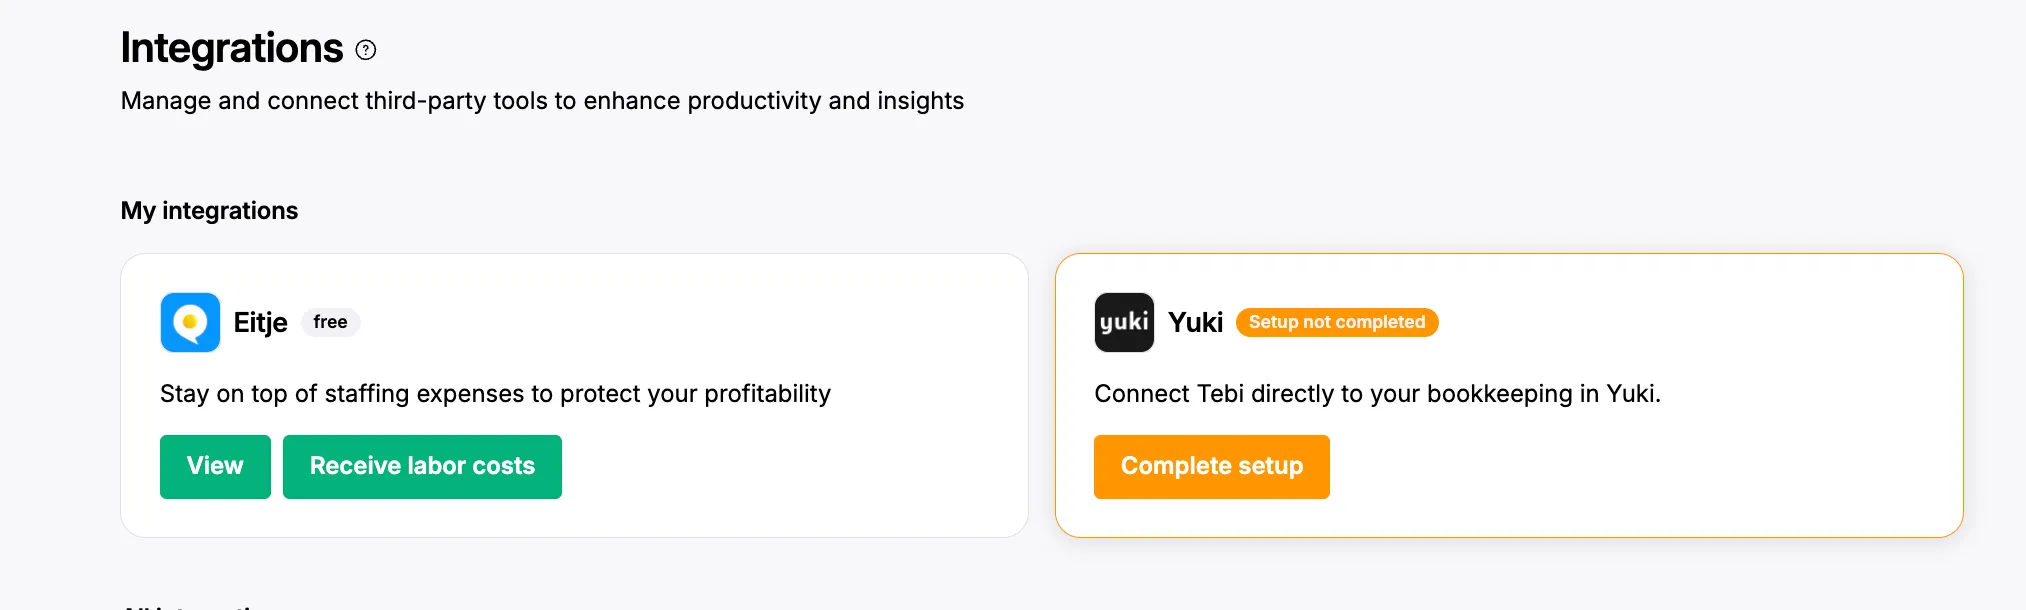
1. Go to the ‘Integrations’ tab → navigate to the Yuki box and click on ‘Complete Setup’.
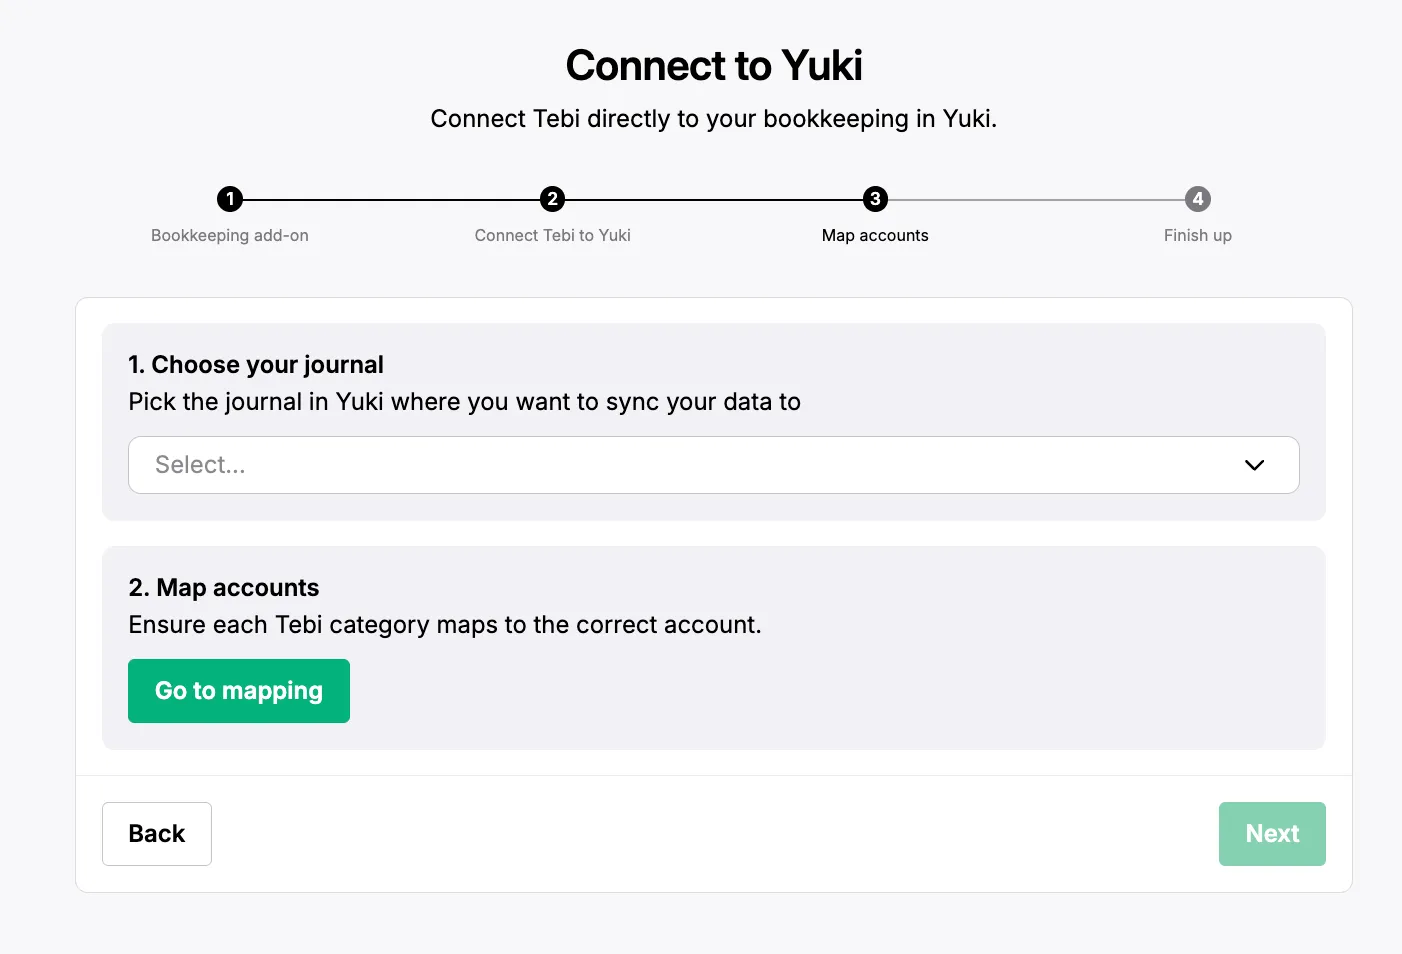
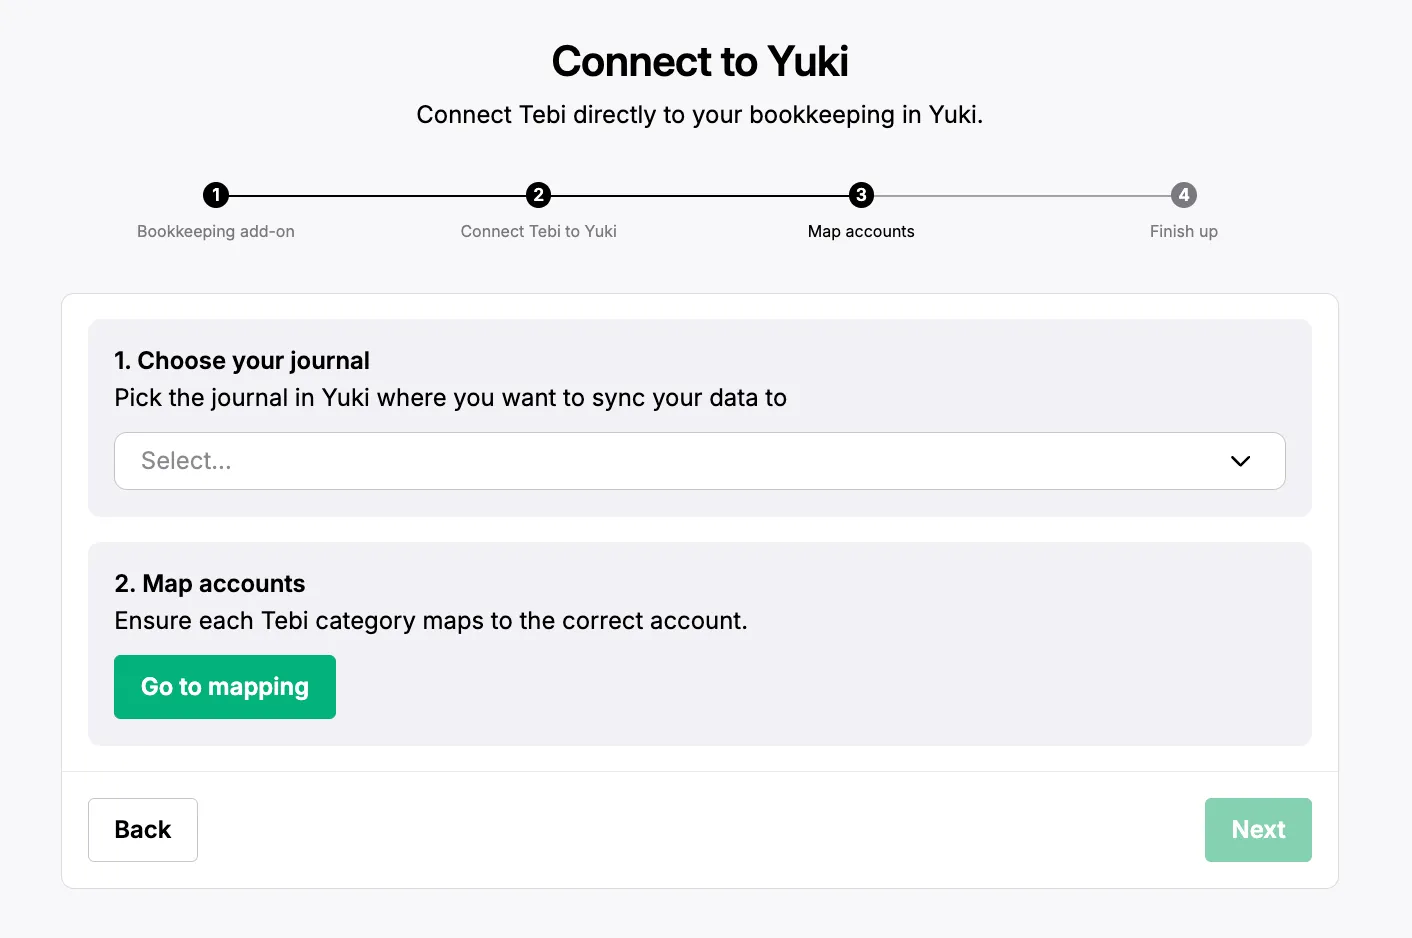
2. You will land in Step 3 ‘Account mapping’.
Note: if you are unsure what an “account” is, scroll in the backoffice to Accounting > Chart of Accounts page**.**
Note: You cannot map to the generic Cash/Kas account in Tebi. Map CASH to a more specific account, such as Tussenrekening Cash or Kruispost Cash, to avoid sync errors.
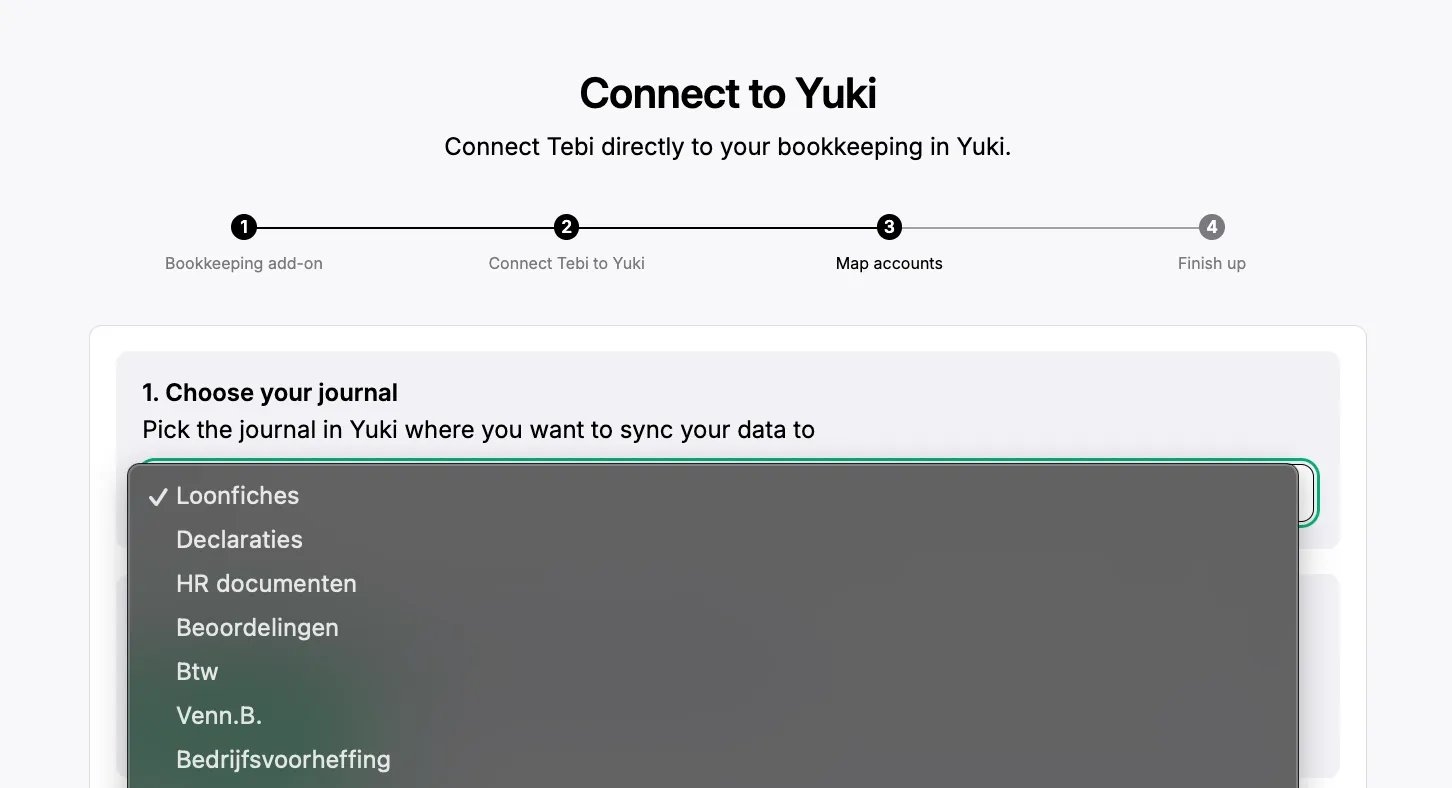
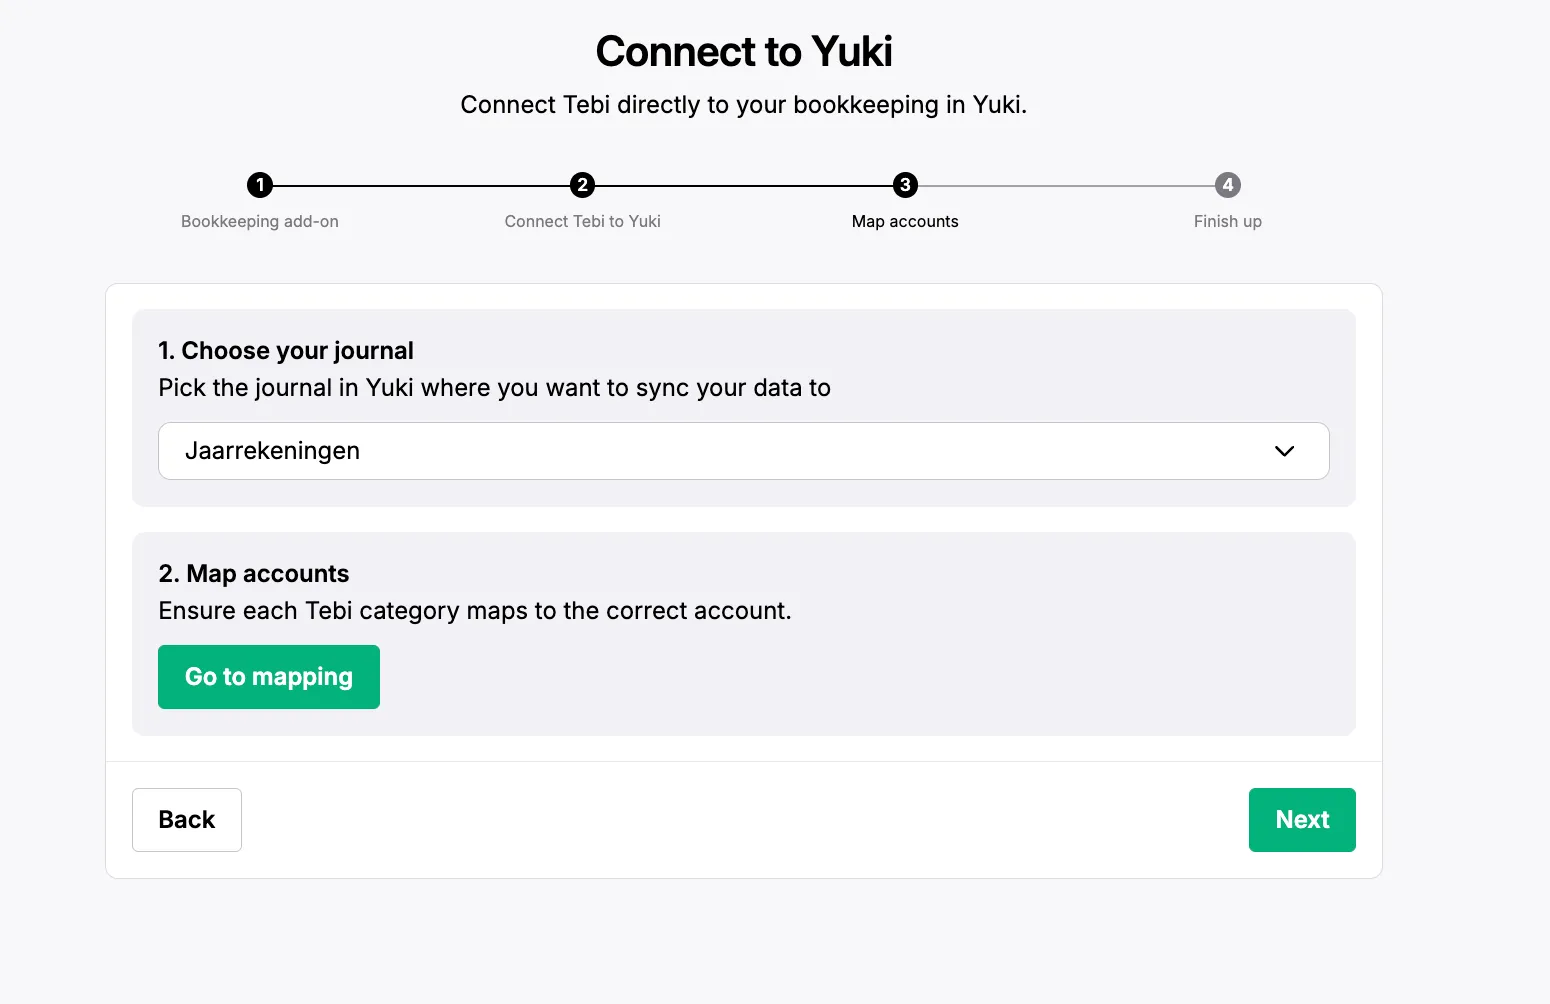
3. The first step to complete here is picking the journal in Yuki journal where you want to sync your data to. In Yuki, you can only post journal entries in journals of type Memoriaal/Memorialen.
4. After choosing the journal, you can continue to ‘Go to mapping’
-
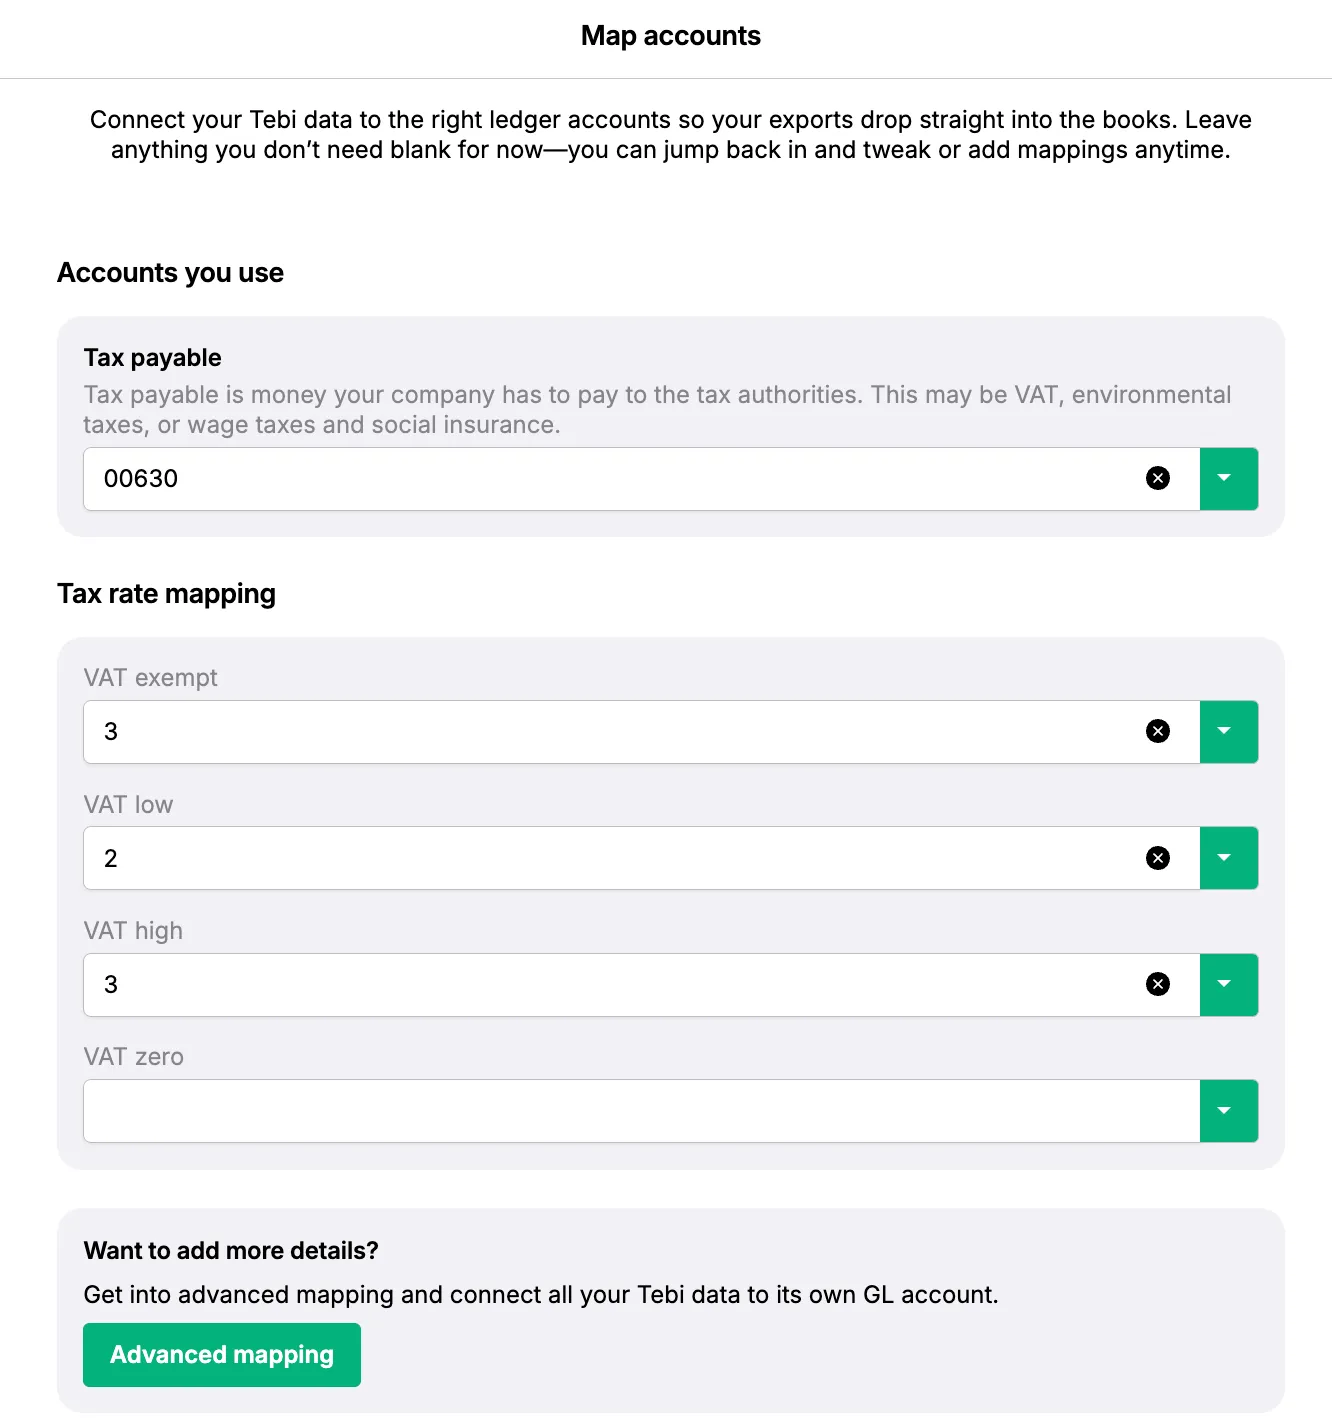
In this page you will see the most common accounts on top and as you scroll down you will be able to see all accounts available.
-
After completing the mapping click on Save
5. You will end up in this page again and can click on Next.
In this page you can select the first date to sync to Yuki. This is the earliest date that will be included in your bookkeeping export.
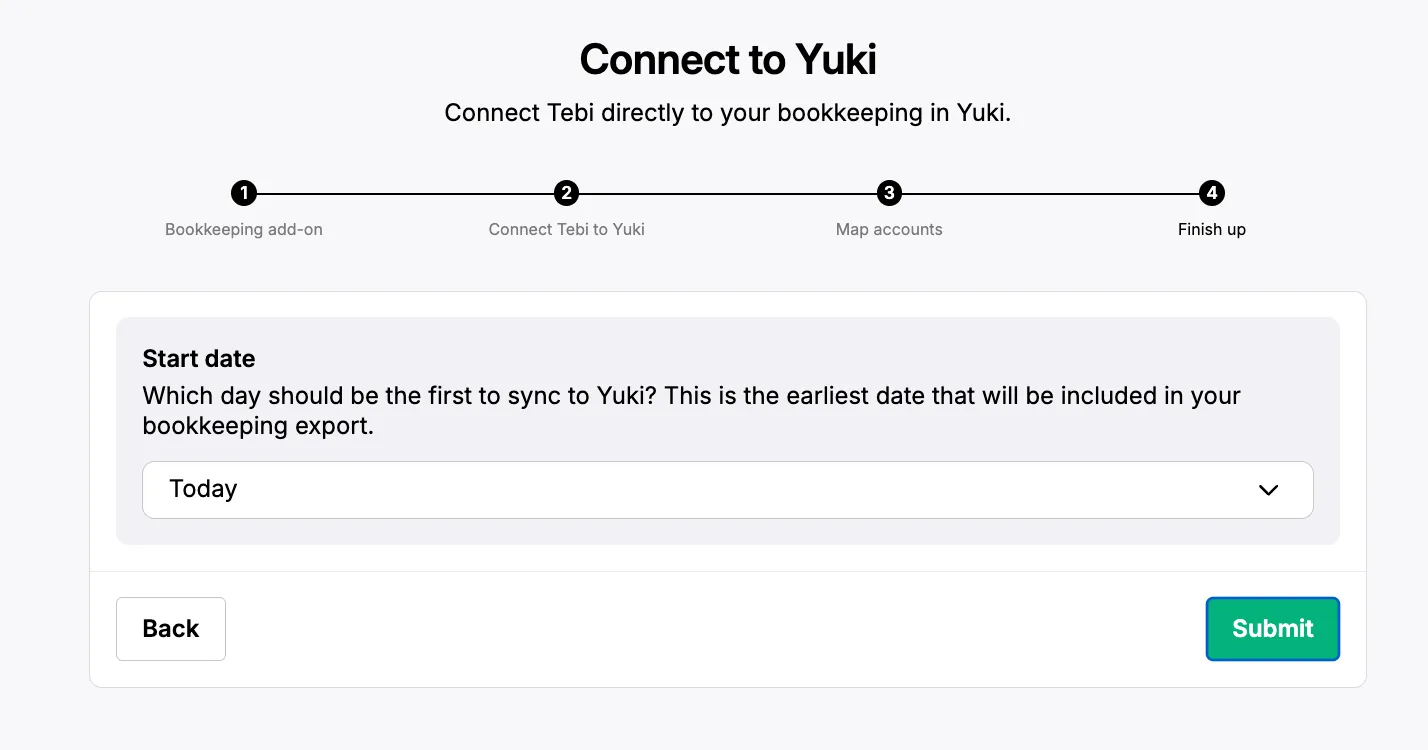
Your connection will now be complete!
Frequently asked questions
How can I know if the connection of Tebi with Yuki was successful?
- During the integration, if you’re missing an account in the mapping process, once you click on submit you will see an error message.
- After the integration,
-
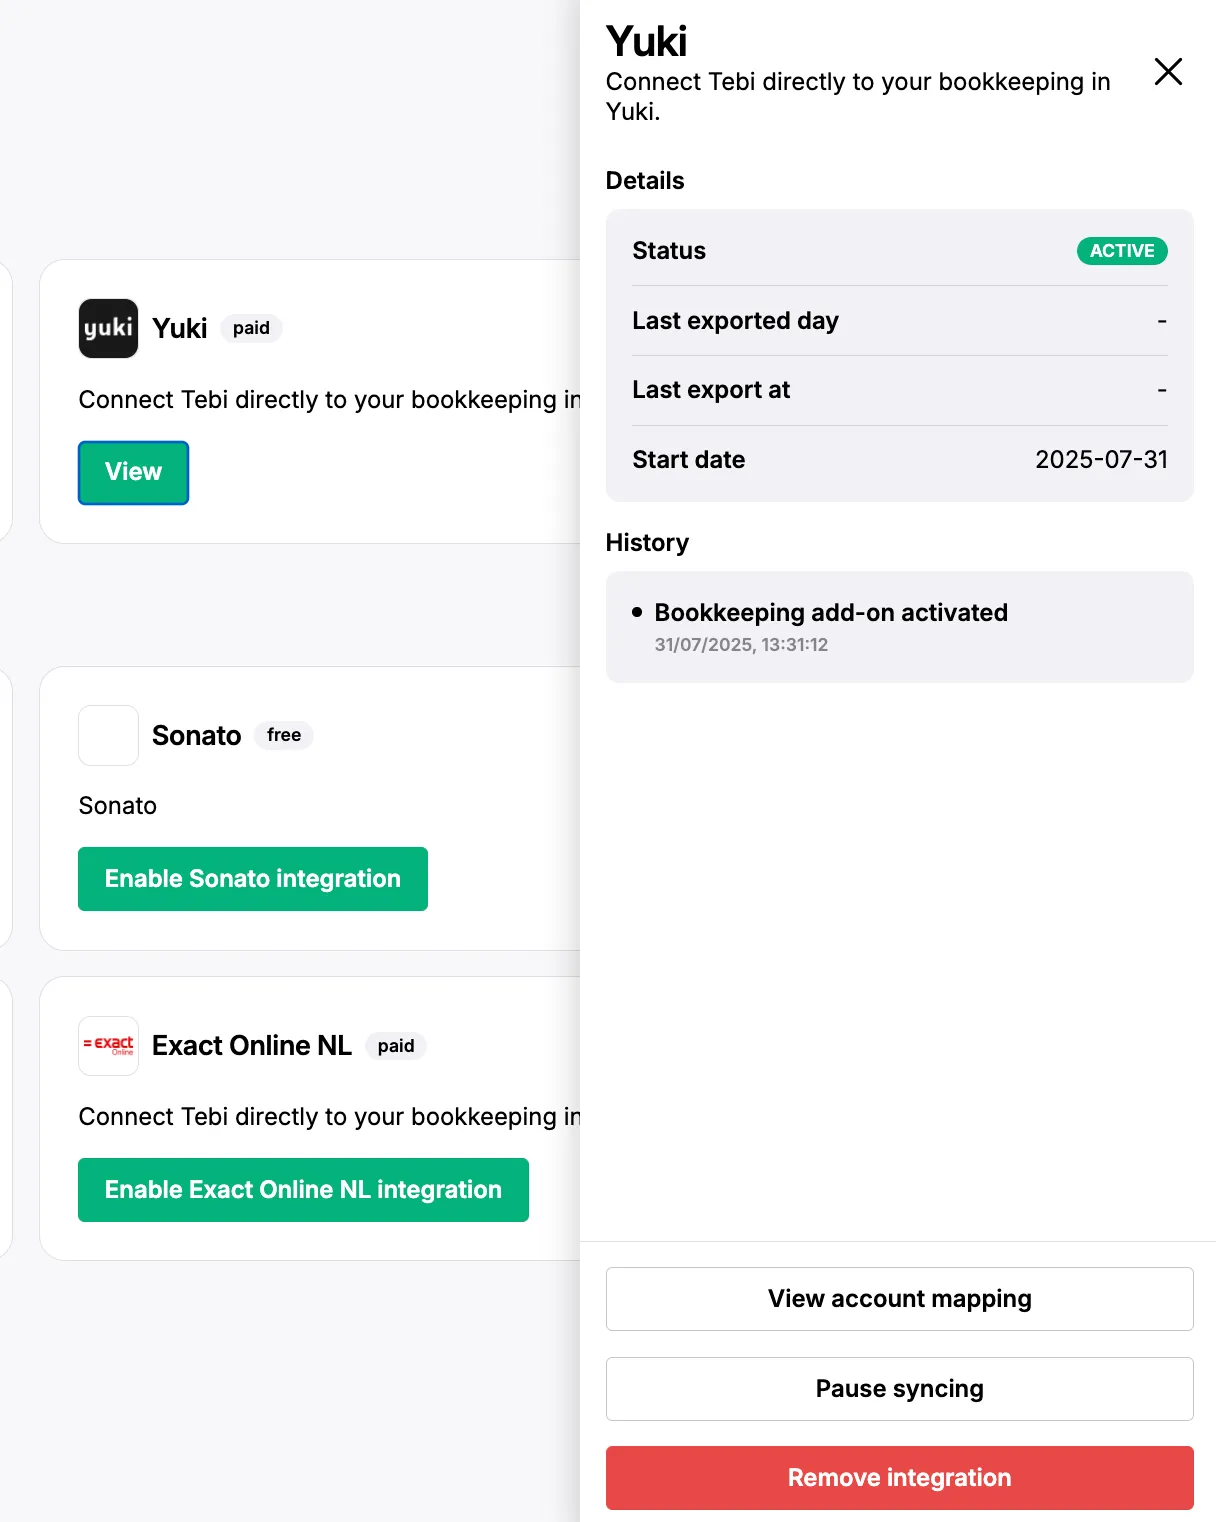
You can go to the integrations tab, navigate to the Yuki integration, click on view.
- A side window will open where you can see the status is “ACTIVE”
-
With the regular transfer of data, If you don’t receive any error emails, the data transfer was successful. information is sent at the end of every day, so in case of an error, you would receive an email the day after.
-
Who can I reach out to for help if some Tebi information is not reaching Yuki?
Will Yuki information be sent to Tebi as well?
- No. Tebi will only send revenue information to Yuki. No information will be sent back from your bookkeeping tool to Tebi.
How often will this information be sent to Yuki?
- Every evening (end of day)
Which time frame of information will be sent to Yuki once I complete this process?
- The data from the day you select as the start time and all the data generated afterwards.
How does the billing work?
- We bill at the beginning of the following month (typically on the 1st or 2nd).
- For example, if you integrate on June 30:
- You will be billed for June (the whole month), even if the activation is on the last day.
- For example, if you integrate on June 30:
- When a connection is deactivated, it won’t be billed the following month.
To which account should I map “tax payable”?
To any account that is marked VAT which can be your “VAT low” or “VAT high” accounts. Your bookkeeping system will automatically keep track if it is low or high tax.
How can I deactivate this service and stop the billing?
-
You can go to the integrations tab, navigate to the Yuki integration, click on view.
- A side window will open where you can navigate to the bottom of the page and click on “Remove integration”.
- If you just want to pause the syncing of data (integration and billing will continue), you can click on “Pause syncing”.