Create a set menu with coursing
Deze inhoud is nog niet vertaald.
This article will explain how to create a set menu at a set price with different products in the various courses.
In this setup, it’s important to assign products to courses correctly so they can be fired at the right time and in the right order.
For this example we’re creating a 3 course dinner for 40 euros, with options in all 3 courses.
In your Tebi Backoffice, go to Products > Product List and click the green button + Add Product.
- Create a Product for the set menu
- The name is shown on your sales grid: 3 course set menu
- Price is €40,-
- VAT is low (9%)
- Adding a Category for reporting is optional: this organizes your product for reporting purposes in the Back Office. Products can be linked to only one category. For example, ‘Food’.
- Adding a Tag is also optional: Add this to organize products into groups for display on the Sale Screen in the Tebi App. Products can be linked to multiple tags. In this case, you could create ‘set menu’ as the tag.
- Leave the prep station and course empty.

-
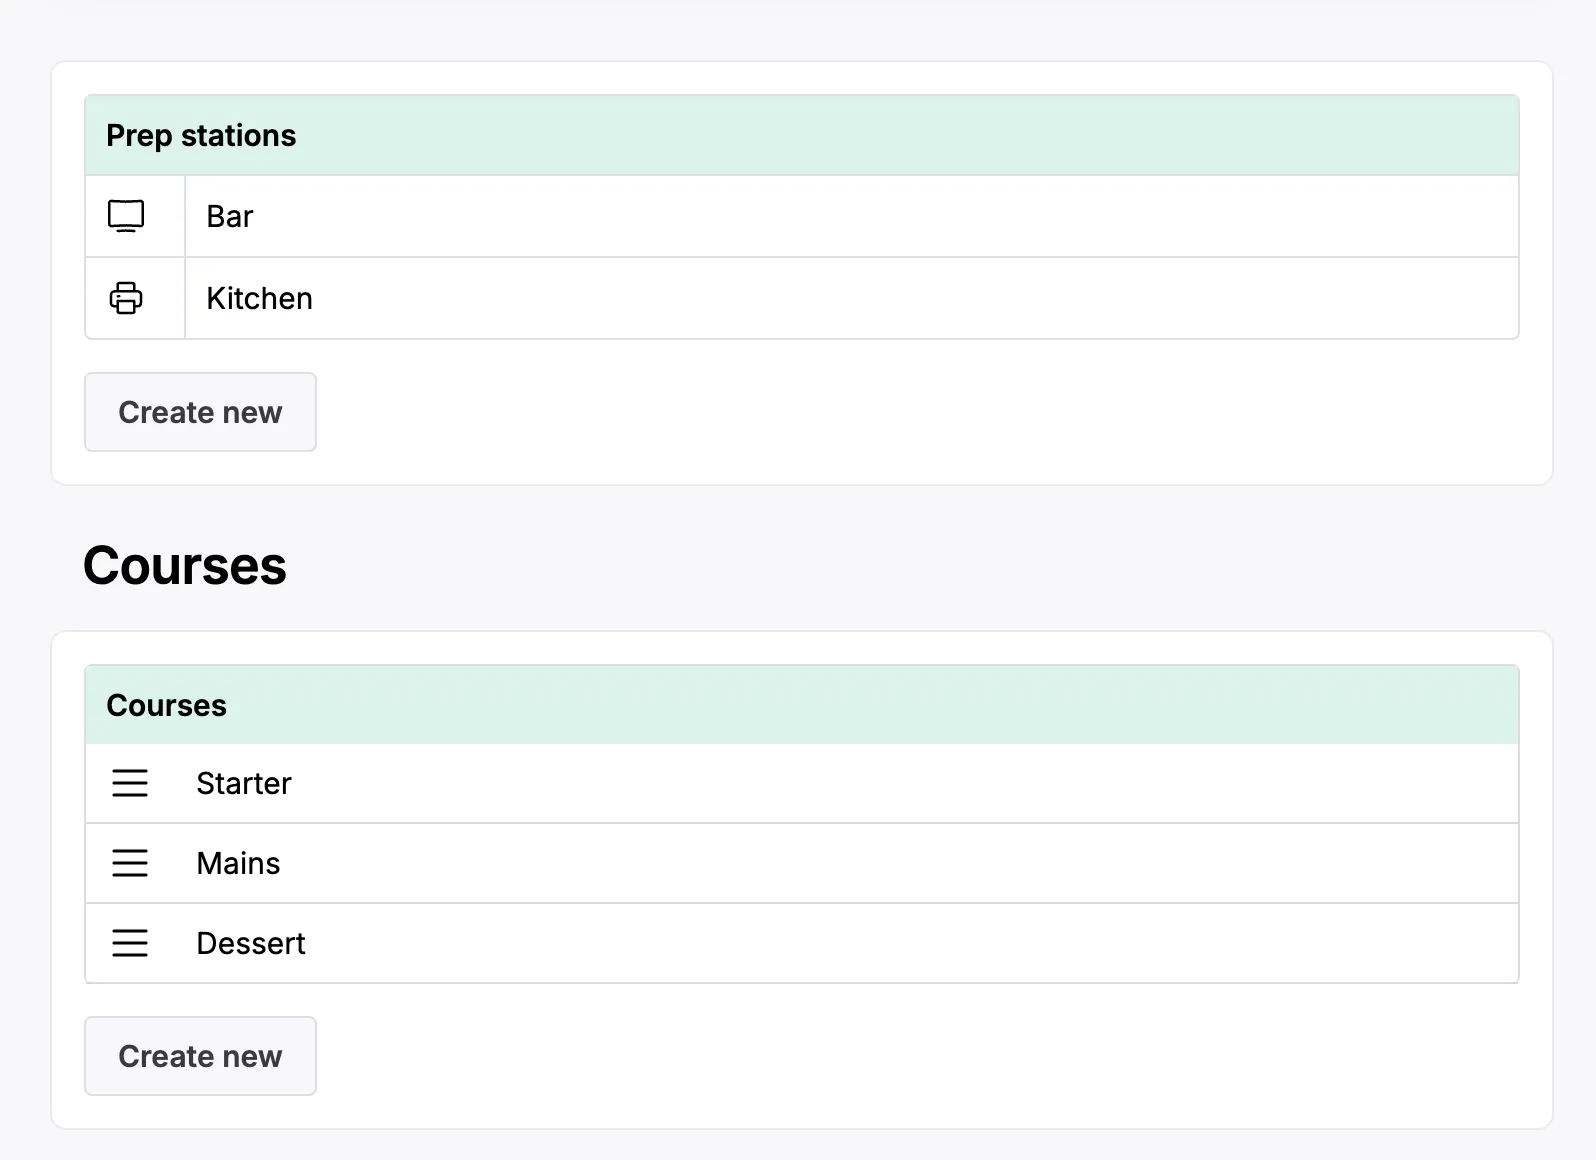
Go to Settings > Prep station to create the prep station for your product, e.g. ‘Kitchen’, and create your coursing, for example: Starter, Main, Dessert. (For more information on prep stations and coursing, read this article.)
-
Now, add a new product for each dish. For example, as starters you have ‘onion soup’ and ‘shrimp cocktail’, for mains ‘fish of the day’ and ‘chicken’, and as desserts ‘creme brulee’ and ‘tiramisu’.
- For each dish, create a new product with the sales price of €0 and VAT low.
- If a dish has an extra cost on top of the set menu, for example, fish of the day comes at an extra cost of €2.50, then the sales price should be €2.50 for this product.
- Give each product a category, e.g. Food, and the tag could be “set menu”.
- Assign it to the prep station Kitchen and to the right course, either Starter, Main, Dessert.
- For each dish, create a new product with the sales price of €0 and VAT low.
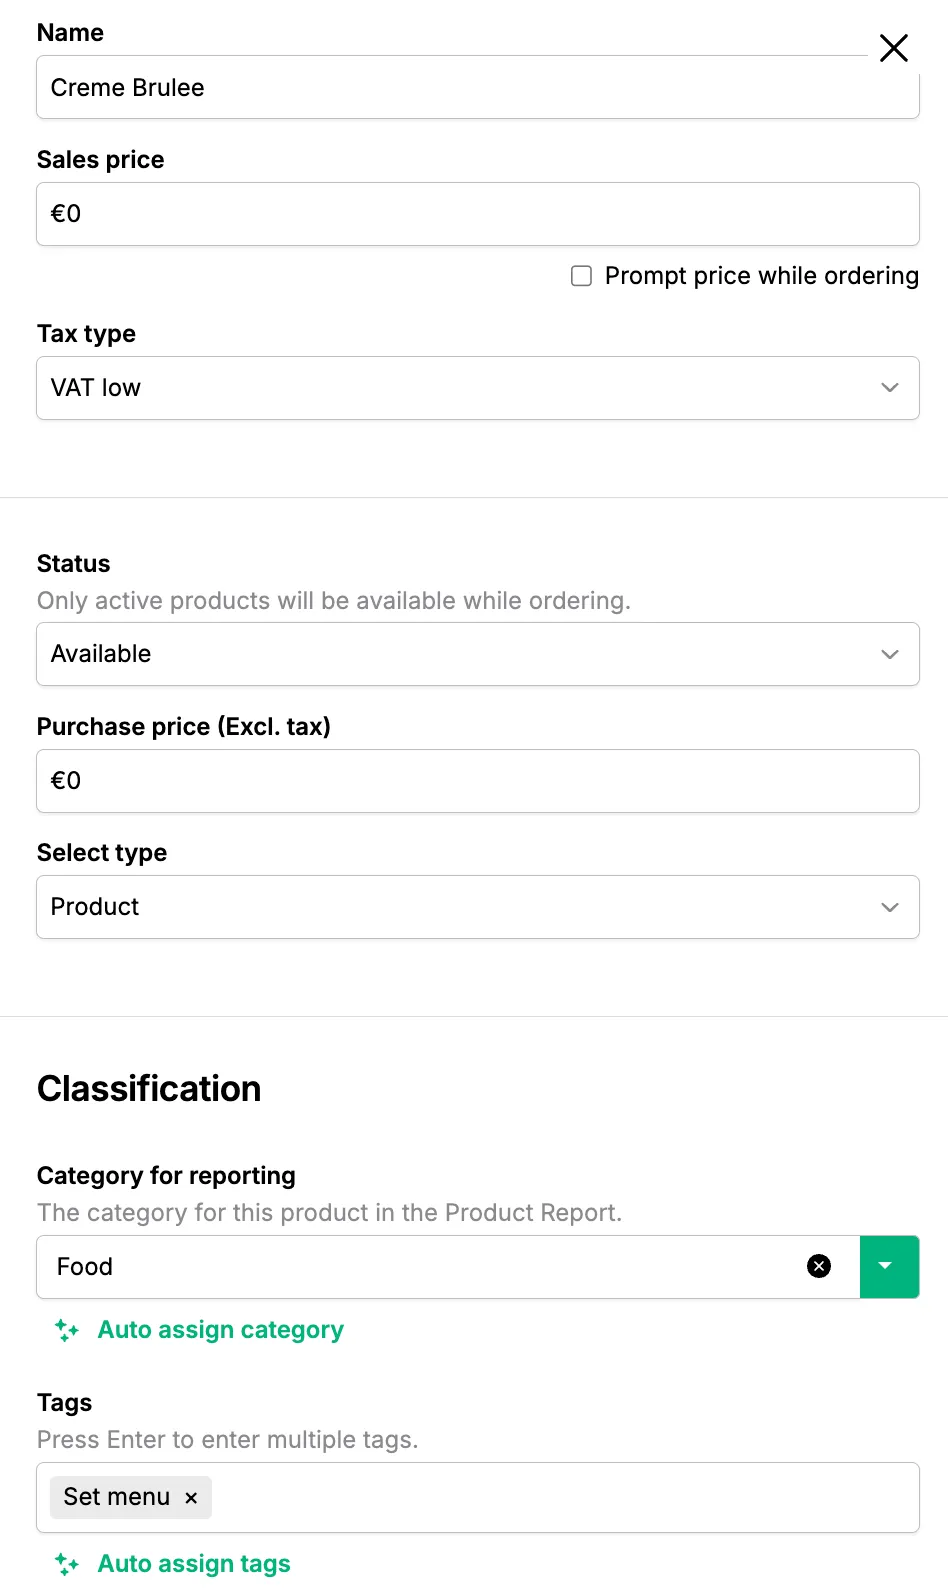
The creme brulee creation

When you filter on the set menu, this is what the overview looks like.
- To set this up on your Sales Screen, go to the Tebi App. Start a new sale, by clicking on a table or the green + button.
- Go into Edit mode on the Sales screen by long pressing on a square.
- Add a view at the top by clicking on the + in the top right corner and name it Set Menu.
- Click on a tile and add the 3 course set menu Product. Then per tile add the dishes that are a part of the set menu.
- See below an example of what this Sales Screen would look like with the various tiles

Sales flow when taking an order
Per guest, you select the 3 course menu product, for example 2 guests, so 2x the set menu.
Then per guest you select the dishes they chose per course.
See below an example of what this sale would look like, with the fish for an extra €2.50.
